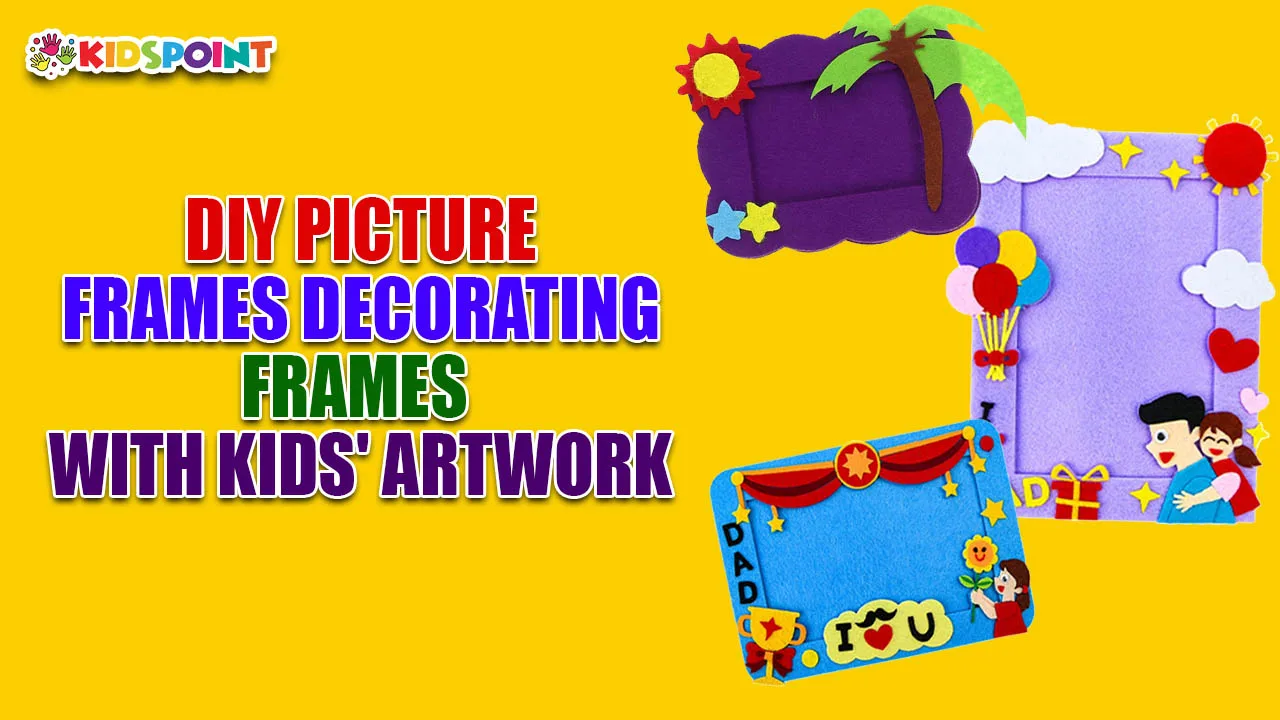
At The Kids Point, we believe in the magic of creativity and the joy it brings to children. One wonderful way to harness this creativity is by involving kids in decorating picture frames with their own artwork. This project not only provides a fun and engaging activity but also results in personalized, cherished keepsakes. In this guide, we’ll explore how to create beautiful, custom frames with your child’s artwork, along with tips for making the process enjoyable and memorable for everyone involved.
Materials Needed
Gather the following materials to get started:
- Picture Frames: Plain wooden or plastic frames in various sizes.
- Kids’ Artwork: Drawings, paintings, and other art pieces created by your child.
- Craft Supplies: Paints, markers, stickers, washi tape, glue, glitter, and buttons.
- Decorative Elements: Ribbons, fabric scraps, felt, and foam shapes.
- Tools: Scissors, paintbrushes, and a glue gun.
- Protective Gear: Aprons or old shirts to protect clothing and a workspace covered with newspaper or a drop cloth.
Step-by-Step Guide
- Select the Frames
Choose frames that fit the size of the artwork you want to display. Wooden frames offer versatility and can be painted or covered with fabric, while plastic frames are great for sticker or marker decorations. - Prepare the Frames
For wooden frames, lightly sand them to create a smooth surface for painting. Clean plastic frames thoroughly to ensure that decorations adhere well. - Designing the Frame
Encourage your child to brainstorm ideas for decorating the frame. Whether inspired by their artwork or their favorite colors and characters, this is an opportunity for them to express their creativity. - Painting the Frame
Begin with a base coat of paint. Let it dry completely before adding additional designs or colors. Acrylic paints work well for vibrant finishes. Allow your child to use brushes or even their fingers to enhance the tactile experience. - Adding Decorative Elements
After the base coat is dry, use glue to attach decorative elements like buttons, glitter, or foam shapes. You can also wrap the frame in fabric or washi tape for a unique touch. This step allows your child to explore different textures and materials. - Personalizing with Artwork
For smaller pieces of artwork, create a collage on the frame. Cut the artwork into shapes or strips and glue them onto the frame. This technique showcases multiple pieces of their art and creates a vibrant, textured look. - Finishing Touches
Let the frame dry completely. If you used glitter or small embellishments, consider applying a clear acrylic sealant to keep everything in place and add a glossy finish. - Inserting the Artwork
Once the frame is dry, insert the artwork. Ensure it fits well and adjust if necessary. You might also use a piece of clear plastic or glass over the artwork to protect it from dust and damage.
Tips for a Successful Crafting Session
- Set Up a Crafting Station: Create a designated area with all necessary supplies within reach. This setup makes the crafting process smoother and more enjoyable for both you and your child.
- Encourage Creativity: Allow your child to lead the decorating process. This project is all about expressing their creativity and personal style.
- Keep It Fun: Focus on enjoying the process rather than achieving perfection. The beauty of the project lies in its personal touch and the fun you have together.
- Involve Multiple Kids: If you have more than one child, make this a group project. Each child can decorate their own frame or collaborate on a joint piece.
Displaying the Finished Frames
After completing the frames, consider these display ideas:
- Gallery Wall: Create a gallery wall in a hallway or living room where you can hang multiple decorated frames. This personalized display showcases your child’s creativity and adds a unique touch to your home.
- Family Photo Wall: Incorporate the decorated frames into your family photo wall, blending them with family pictures to create a cohesive and personalized display.
- Kids’ Room: Place the frames in your child’s room or play area. This allows them to see their creations prominently and boosts their sense of accomplishment.
- Gift Ideas: Decorated frames make wonderful gifts for family members. Consider giving a framed piece of your child’s artwork to grandparents, aunts, or uncles as a personalized gift.
Creative Variations
To keep the crafting experience exciting, try these variations:
- Seasonal Themes: Decorate frames according to different seasons or holidays, such as autumn leaves for fall or snowflakes for winter.
- Texture Play: Experiment with textures like fabric, felt, or textured paint to add depth and interest to your frames.
- Mixed Media: Combine painting, collage, and stamping techniques to create unique and diverse frame designs.
- Custom Messages: Add personalized messages or quotes to the frames using stickers, stamps, or hand-painted letters for an extra special touch.
At The Kids Point, we know that decorating picture frames with kids’ artwork is more than just a craft-it’s an opportunity to create lasting memories and celebrate your child’s creativity. By involving your child in every step of the process, from selecting materials to adding the finishing touches, you’re fostering their artistic skills and creating personalized keepsakes that will be cherished for years to come.
So gather your supplies, set up your crafting station, and enjoy a fun and rewarding creative experience with your little ones. Whether you’re displaying the frames at home or gifting them to loved ones, these custom creations will undoubtedly bring joy and a personal touch to any space.


