
Exploring erosion is a fascinating way for kids to learn about the natural forces that shape the Earth. Erosion, the process by which soil, rocks, and other materials are worn away by wind, water, and ice, is a key concept in geology and environmental science. Through hands-on experiments, children can engage with this exciting topic and gain a deeper understanding of how the Earth’s surface is constantly changing. This simple erosion experiment is designed to spark curiosity and creativity, making learning fun for kids of all ages at The Kids Point. By experimenting with different materials and environments, kids will see firsthand how erosion works. This activity not only teaches science but also encourages problem-solving and observation skills.
Understanding Erosion
Before diving into the experiment, let’s first take a closer look at what erosion is. Erosion occurs when natural forces like water or wind move rock particles or soil from one place to another. While erosion can happen over millions of years, it can also happen more quickly, especially during storms or floods. Water is one of the most powerful agents of erosion, as it can easily wash away soil and rocks, especially when flowing downhill. This is why we often see rivers cutting through mountains or beaches eroding over time.
Erosion doesn’t just affect landscapes, it also impacts ecosystems, agriculture, and even human infrastructure. Understanding how erosion works is important, as it helps us protect natural resources, manage land use, and even build stronger structures. By doing this fun and easy erosion experiment, kids can get a firsthand look at how this process happens in a way that is both educational and entertaining.
What You’ll Need for the Erosion Experiment
This erosion experiment requires only a few basic supplies, most of which can be found around the house or at a local store. Here’s what you’ll need:
Materials:
- A large tray or shallow pan – This will be your experiment’s base where you simulate the land.
- Soil or sand – You can use potting soil or fine sand for the land surface.
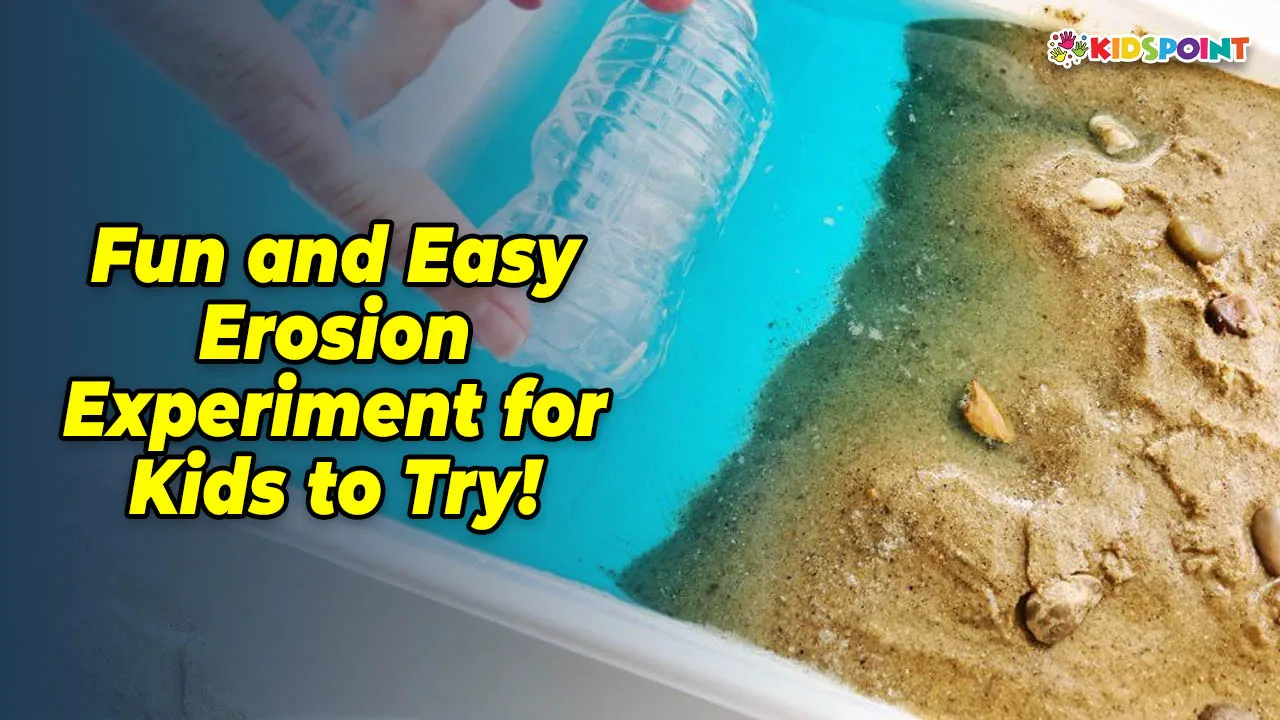
- A plastic bottle or watering can – This will be used to simulate rain and create the erosion effect.
- Water – Essential for simulating rainfall.
- Plastic wrap (optional) – This is useful to create a “landscape” with hills and valleys.
- Rocks or small stones – To simulate obstacles like mountains or hills.
- A timer – Optional, but useful if you want to time the experiment and observe changes over different intervals.
- A measuring cup – To control the amount of water you pour over the surface.
With these materials, you’re ready to get started on your own erosion experiment!
Step-by-Step Instructions for the Erosion Experiment
Step 1: Set Up the Landscape
Start by setting up the base for your experiment. If you’re using a tray, pour the sand or soil into it, creating a thick layer across the entire bottom. You can create some variation in height by mounding the sand to simulate hills and valleys. This will allow the water to flow over different surfaces and demonstrate how erosion works in real life.
You can also use the plastic wrap to create a sloping surface. For example, place the plastic wrap at an angle, creating a hill-like structure. This will simulate how water moves down the slope, just like it would in nature.
Place rocks or small stones on the landscape where you want to simulate obstacles or mountains. These rocks will help to show how certain areas are more resistant to erosion compared to others.
Step 2: Prepare the Watering System
Fill your plastic bottle or watering can with water. If you’re using a plastic bottle, you can make small holes in the cap to simulate raindrops. This will help control the amount of water you are pouring over the surface and mimic rainfall more effectively.
If you’re using a watering can, gently water the surface to create a “rain” effect. Be sure to use a slow and steady flow to avoid flooding the landscape too quickly.
Step 3: Start the Erosion Process
Begin the experiment by slowly pouring the water over the landscape. Start at the highest point of your setup (the top of the hill or mound) and allow the water to flow downward. Watch closely as the water interacts with the sand or soil. You’ll notice that as the water moves across the surface, some soil or sand will begin to wash away, creating small rivers or channels in the sand.
This is the erosion process in action! The water is picking up particles from the surface and carrying them downhill. Pay attention to areas where you placed rocks. Do the rocks prevent erosion, or do they divert the water to different paths?
Step 4: Observe and Record Changes
As the water continues to flow, observe how the landscape changes. How do the hills look after a few minutes of water flow? Have the valleys deepened? Are any areas more affected by erosion than others?
It’s important to observe how the water flows. If you’ve created different heights and slopes, you’ll notice that water flows more quickly downhill, creating deeper channels. This mimics how erosion happens in nature—fast-moving water carries more soil and rocks, while slow-moving water is less effective in eroding the surface.
Record your observations. How long does it take for the water to wash away noticeable amounts of sand or soil? What happens to the rocks or stones when the water hits them?
Step 5: Experiment with Different Variables
To make the experiment even more interesting, you can modify certain variables. For example:
- Change the water flow rate: Try pouring the water faster or slower. How does this affect the erosion process?
- Add more rocks or barriers: Place more rocks in different areas to see how they impact the flow of water and protect the landscape.
- Use different types of soil or sand: Experiment with different textures to see how easily they erode. You might find that finer sand erodes more quickly than coarser sand.
- Change the slope: Alter the height of the hills to see if steeper slopes lead to more rapid erosion.
These modifications allow kids to explore how different factors influence the rate and extent of erosion.
The Science Behind the Experiment
Now that you’ve conducted the erosion experiment, it’s important to understand the science behind it. In nature, erosion occurs when weathering forces like wind, water, or ice break down rock formations, soil, and other materials. In this experiment, the water represents rainfall or running rivers that can carve out landscapes over time. The sand or soil represents the Earth’s surface, which is continually reshaped by erosion.
The speed and extent of erosion depend on several factors:
- Water flow: Faster-moving water can carry away more material.
- Slope: Steeper slopes tend to experience more rapid erosion because gravity accelerates the water’s movement.
- Surface texture: Softer or finer materials erode more easily than harder materials.
Understanding these factors helps kids see how erosion shapes the natural world. For instance, rivers can carve deep valleys over thousands of years, while rainfall can wash away large areas of soil, leading to issues like landslides or soil erosion.
Real-Life Applications of Erosion
Erosion is a powerful natural process, but it also presents challenges for communities and the environment. In real life, excessive erosion can lead to issues like loss of fertile soil, damage to infrastructure, and destruction of ecosystems. By learning about erosion through experiments like this one, kids can develop a deeper appreciation for the environment and the forces that shape it.
In agriculture, farmers must manage soil erosion to protect crops and maintain fertile land. Similarly, engineers and city planners must account for erosion when building roads, bridges, and other infrastructure. Understanding how water, wind, and ice affect landscapes is crucial in designing sustainable solutions that protect both people and the environment.
The erosion experiment is a fun way for kids to see how water shapes the land and affects ecosystems. It helps them understand Earth’s natural processes while developing critical thinking skills. At The Kids Point, we believe in making learning an adventure, whether through hands-on activities or fun experiments. Gather your supplies, dive in, and let the wonders of erosion unfold!