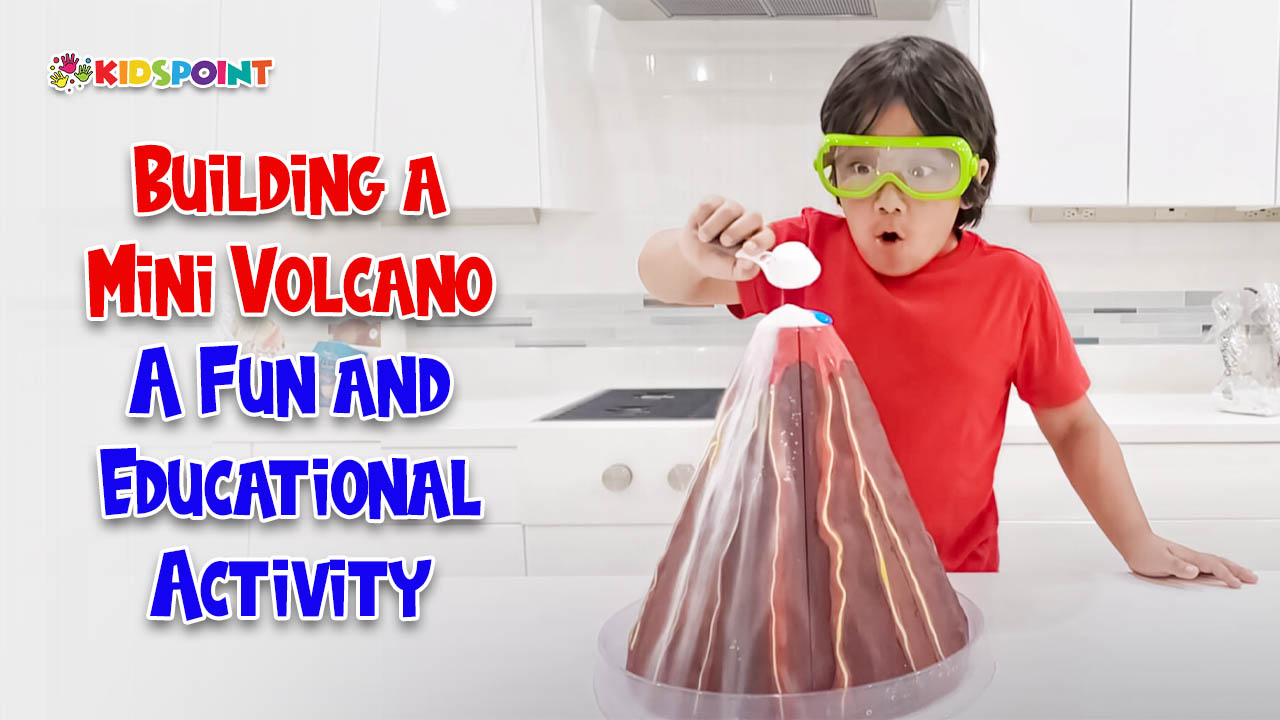
Building a mini volcano is a fantastic way to engage kids in a hands-on learning experience that combines science, creativity, and fun. At The Kids Point, we believe in turning every activity into an opportunity for children to explore and understand the world around them. This guide will walk you through the process of creating a mini volcano, detailing the scientific principles behind it, and suggesting ways to make the activity both educational and enjoyable for kids of all ages.
Materials Needed
Before you start, gather the following materials:
- Baking Soda: The key ingredient for the eruption.
- Vinegar: Reacts with baking soda to create the eruption.
- Dish Soap: Adds bubbles and froth to the eruption.
- Red Food Coloring: Gives the eruption a lava-like appearance.
- Plastic Bottle: Acts as the volcano’s core.
- Clay or Dough: To shape the exterior of the volcano.
- Tray or Large Plate: To contain the mess.
- Measuring Spoons and Cups: For precise measurements.
- Safety Goggles: Optional, for added safety.
- Plastic Funnel: Helps in pouring ingredients easily.
Step-by-Step Guide
Step 1: Prepare the Volcano Structure
- Select a Base: Place your plastic bottle in the center of a tray or large plate. This will catch any overflow and make cleanup easier.
- Build the Volcano Shape: Use clay or dough to shape the exterior of your volcano around the plastic bottle. Make sure to leave the bottle’s opening exposed. You can mold the dough to resemble a mountain, adding texture and features to make it look more realistic.
- Let it Dry: If using clay, let it dry completely. This might take a few hours or overnight, depending on the type of clay used.
Step 2: Set Up the Eruption
- Add Baking Soda: Using a funnel, pour about half a cup of baking soda into the bottle. This will be the base of your volcanic eruption.
- Prepare the Vinegar Solution: In a separate container, mix a cup of vinegar with a few drops of dish soap and red food coloring. The dish soap will create more bubbles, and the food coloring will give your eruption a vibrant, lava-like appearance.
- Safety First: If you have safety goggles, put them on now. While the reaction is generally safe, it’s always good to take precautions, especially with younger children.
Step 3: Create the Eruption
- Initiate the Reaction: When everyone is ready, slowly pour the vinegar solution into the bottle using the funnel. Stand back and watch as the chemical reaction takes place!
- Observe the Eruption: The vinegar and baking soda react to form carbon dioxide gas, which builds up pressure and causes the foamy “lava” to erupt out of the volcano.
- Discuss the Science: Use this moment to explain the science behind the reaction. Baking soda (sodium bicarbonate) is a base, and vinegar (acetic acid) is an acid. When they combine, they form carbon dioxide gas, water, and sodium acetate. The gas creates bubbles in the dish soap, causing the frothy eruption.
Educational Benefits
Building a mini volcano isn’t just about the fun eruption; it’s a rich educational activity that touches on various scientific concepts:
Chemistry
- Acid-Base Reactions: Explain the concept of acids and bases, using vinegar and baking soda as examples.
- Gas Formation: Discuss how the reaction produces carbon dioxide gas and how it creates pressure to cause the eruption.
Earth Science
- Volcanic Activity: Talk about real volcanoes, how they erupt, and the different types of volcanic eruptions.
- Earth’s Layers: Use the model to explain the structure of the Earth, including the crust, mantle, and core.
Physics
- Pressure and Force: Describe how the buildup of gas creates pressure that forces the “lava” out of the volcano.
Creativity and Art
- Model Building: Encourage kids to be creative in designing their volcano, adding features like craters, lava flows, and surrounding landscapes.
- Color Mixing: Experiment with different colors to see how they mix and change during the eruption.
Expanding the Activity
To make the volcano-building activity even more engaging and educational, consider these additional steps and variations:
Experiment with Variables
- Different Amounts: Change the amounts of baking soda and vinegar to see how the size of the eruption changes.
- Other Acids: Try using different acids like lemon juice or citric acid to compare the reactions.
- Temperature Effects: Test how the temperature of the vinegar affects the eruption.
Integrate Geography and History
- Volcano Research: Have kids research famous volcanoes like Mount Vesuvius, Mount St. Helens, or Kilauea. Discuss their history and impact on human civilization.
- Volcanic Rocks: Collect and examine different types of volcanic rocks like pumice, obsidian, and basalt.
Cross-Disciplinary Learning
- Math Skills: Incorporate measuring and calculating ratios for the ingredients, enhancing math skills.
- Language Arts: Encourage kids to write a story or a report about their volcano and its eruption.
Safety Tips
While building a mini volcano is generally safe, keep these safety tips in mind:
- Supervision: Always supervise children during the activity, especially when handling vinegar and food coloring.
- Protective Gear: Use safety goggles and gloves if necessary, particularly with younger children or larger eruptions.
- Clean-Up: Have paper towels or cloths ready for spills, and make sure to clean up thoroughly after the activity.
At The Kids Point, we aim to make learning a thrilling adventure. Building a mini volcano is a perfect example of how educational activities can be both fun and informative. This activity not only captivates children’s imaginations but also instills a deeper understanding of scientific principles and natural phenomena. By following this guide, you’ll create an engaging and memorable experience that your kids will talk about for days. So gather your materials, put on your creativity hats, and get ready to explore the explosive world of volcanoes!


