
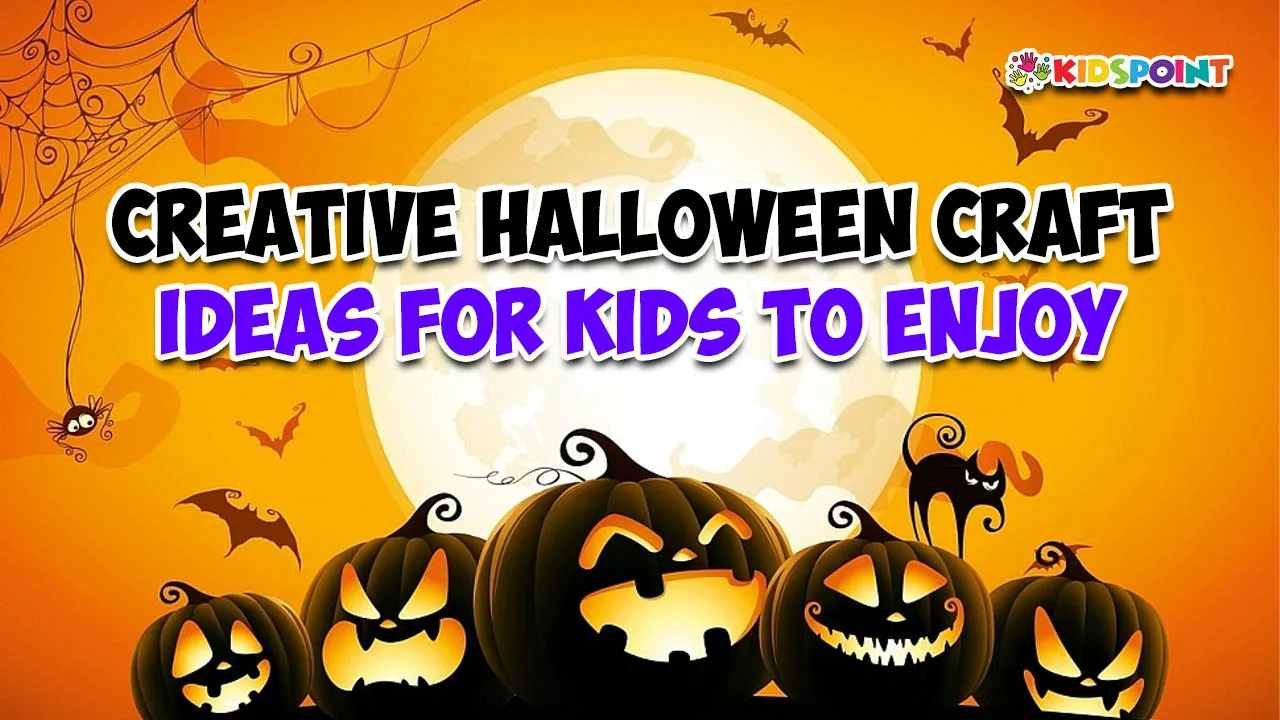
Halloween is a time of year filled with excitement and creativity, especially for kids. From spooky decorations to fun costumes, there are endless opportunities to get crafty. At The Kids Point, we believe that Halloween crafts are a fantastic way to engage children in creative activities that stimulate their imaginations, develop fine motor skills, and provide a fun bonding experience for families. This guide will explore a variety of Halloween craft ideas that are perfect for kids of all ages. Whether you’re looking for simple projects or more involved activities, we’ve got you covered.
Spooky Spiders
Materials Needed:
- Black construction paper
- Googly eyes
- Pipe cleaners (black)
- Glue
- Scissors
Instructions:
- Create the Spider’s Body: Cut out a large circle from the black construction paper for the spider’s body.
- Make the Legs: Cut the pipe cleaners into 8 equal pieces. Glue 4 pipe cleaners on each side of the spider’s body to create the legs.
- Add Eyes: Glue the googly eyes onto the spider’s body. You can use multiple eyes for a fun, creepy effect.
- Personalize: Allow kids to add details such as glitter or other decorations to make their spider unique.
Tips: This craft is easy to adjust based on the age of the child. For younger kids, you can pre-cut the pieces and let them glue and assemble.
Jack-O’-Lantern Paper Bags
Materials Needed:
- Orange paper bags
- Black construction paper
- Glue or glue stick
- Scissors
- Green paper or pipe cleaners (for stems)
Instructions:
- Create the Face: Cut out various facial features (eyes, nose, mouth) from the black construction paper and glue them onto the front of the orange paper bag.
- Add a Stem: Use green paper or pipe cleaners to create a stem for the pumpkin. Glue or tape it to the top of the bag.
- Fill and Enjoy: These bags can be used as trick-or-treat bags or to hold Halloween treats.
Tips: Encourage kids to design their own pumpkin faces. This craft allows for a lot of personalization and creativity.
Ghost Lanterns
Materials Needed:
- Empty glass jars
- White paint
- Black marker
- LED tea light candles
- Black ribbon or fabric
Instructions:
- Prepare the Jars: Clean and dry the glass jars thoroughly.
- Paint the Ghosts: Paint the outside of the jars with white paint. Allow it to dry completely.
- Draw the Faces: Use the black marker to draw ghostly faces on the jars.
- Add the Candle: Place an LED tea light candle inside the jar. Secure a piece of black ribbon or fabric around the top of the jar for a finished look.
Tips: This craft is perfect for older kids who can handle the paint and drawing on their own. The LED candles are a safe alternative to real candles.
Mummy Jars
Materials Needed:
- Empty jars (mason jars work well)
- White gauze or cheesecloth
- Googly eyes
- Glue
- Scissors
Instructions:
- Wrap the Jars: Wrap the empty jars with white gauze or cheesecloth, securing it with glue as you go.
- Add Eyes: Glue googly eyes onto the jar. Position them so that they peek out from the gauze.
- Display: These jars make great decorations for Halloween parties or can be used as candy holders.
Tips: You can make different sizes of mummies by using various sizes of jars. Kids can have fun wrapping and placing the eyes on their mummies.
Bat Craft
Materials Needed:
- Black construction paper
- White or colored paper (for fangs)
- Glue
- Scissors
- Pencil
Instructions:
- Create Bat Wings: Fold the black construction paper in half and cut out a bat shape with large wings. Unfold to reveal the bat.
- Add Details: Cut out small white or colored paper fangs and glue them to the bat’s face.
- Decorate: Kids can add glitter or other decorations to make their bat unique.
Tips: For a more interactive craft, you can add a bat silhouette to a stick and let kids create a bat puppet.
Witches’ Hats
Materials Needed:
- Black construction paper
- Green and purple paper (for embellishments)
- Scissors
- Glue
- Stapler
Instructions:
- Create the Hat Shape: Cut a large circle from the black construction paper and a smaller circle for the brim. Cut a slit from the edge of the larger circle to the center and form a cone shape. Staple or glue the cone together.
- Add the Brim: Attach the brim by gluing it to the bottom of the cone.
- Decorate: Use green and purple paper to create stars, moons, or other designs to glue onto the hat.
Tips: These hats are perfect for kids to wear during Halloween festivities. Customize them with different colors and shapes for a unique look.
Pumpkin Placemats
Materials Needed:
- Orange construction paper
- Green construction paper
- Scissors
- Glue
Instructions:
- Create the Pumpkin Shape: Cut out a large pumpkin shape from the orange construction paper.
- Add Leaves and Vines: Cut out leaves and vines from the green construction paper and glue them onto the pumpkin.
- Use as Placemats: These can be used as placemats for Halloween meals or as decorations on the table.
Tips: Encourage kids to add their names or Halloween-themed drawings to personalize their placemats.
Spider Webs
Materials Needed:
- Black paper plates
- White yarn
- Glue
- Scissors
Instructions:
- Prepare the Plates: Cut out the center of the black paper plate to create a ring.
- Create the Web: Glue the end of the yarn to the center of the ring and then weave the yarn in a web pattern around the ring, securing it with glue as you go.
- Add Spiders: Attach small paper spiders or toy spiders to the web.
Tips: This craft can be adapted for different ages. Older kids can handle the weaving, while younger ones can focus on gluing and decorating.
Monster Rocks
Materials Needed:
- Smooth rocks
- Paints and brushes
- Googly eyes
- Glue
Instructions:
- Paint the Rocks: Paint the rocks in various colors and patterns to create monster faces.
- Add Eyes: Glue googly eyes onto the painted rocks to complete the monster look.
- Display: These can be used as garden decorations or spooky additions to Halloween displays.
Tips: This craft is a great way to get kids outdoors, collecting rocks and then transforming them into fun monsters.
Candy Corn Wreath
Materials Needed:
- Foam wreath form
- Yellow, orange, and white paper
- Scissors
- Glue
- Ribbon (for hanging)
Instructions:
- Prepare the Wreath: Cut the yellow, orange, and white paper into small pieces or shapes to mimic candy corn.
- Attach the Pieces: Glue the paper pieces onto the foam wreath form in a candy corn pattern.
- Add a Ribbon: Attach a ribbon to the top of the wreath for hanging.
Tips: This craft can be a fun way to decorate the front door for Halloween. Kids can experiment with different patterns and colors.
Halloween crafts are a delightful way for kids to express their creativity and get into the Halloween spirit. From spooky spiders and Jack-O’-Lantern bags to colorful candy corn wreaths, these activities offer something for every child. At The Kids Point, we encourage families to take the time to create together, making lasting memories and enjoying the festive season.
Remember to adapt these crafts to suit the age and skill level of the children involved. The goal is to have fun and let their imaginations run wild. Happy crafting and have a spooktacular Halloween!
Feel free to modify these craft ideas based on what materials you have available or the preferences of the kids. The important thing is to enjoy the process and create something special together.