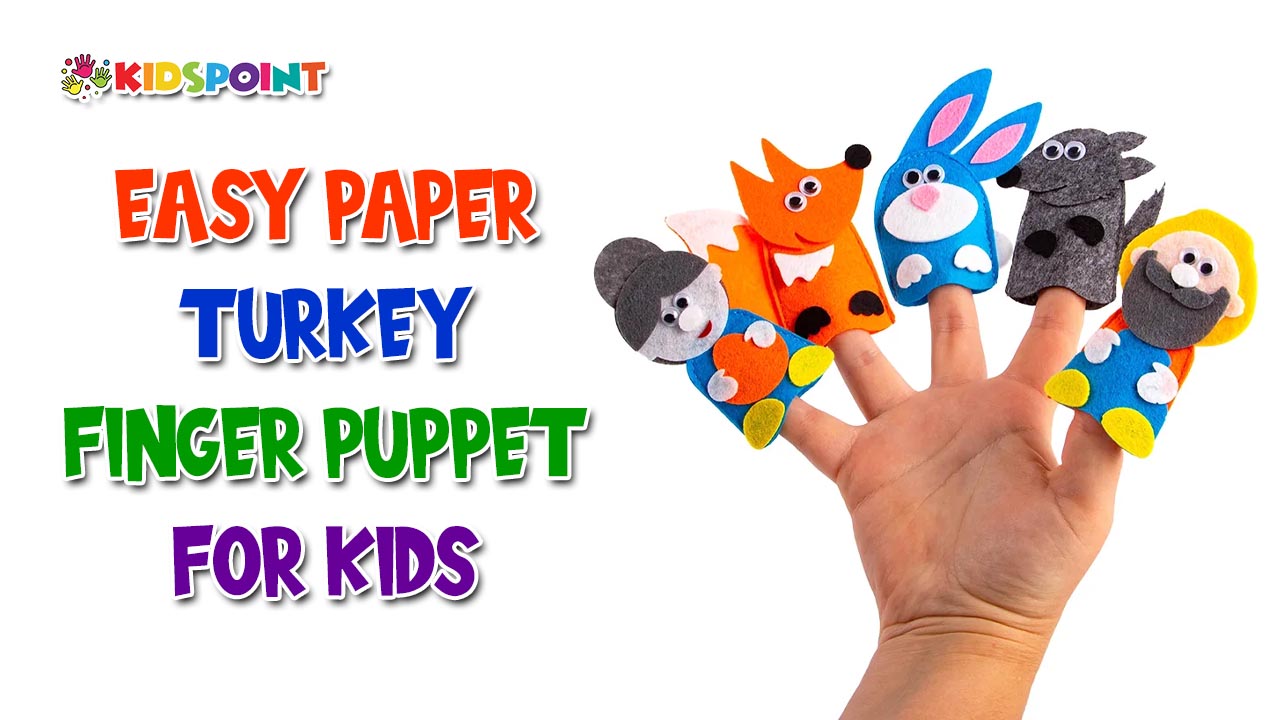
Creating paper crafts is a delightful and educational way to engage children. One such craft that is particularly popular around Thanksgiving is the paper turkey finger puppet. This craft not only provides a fun activity for kids but also helps develop their fine motor skills, creativity, and understanding of holiday traditions. Here’s a comprehensive guide from The Kids Point to making an easy paper turkey finger puppet with your children.
Materials Needed
Before starting the project, gather all the necessary materials. Most of these items can be found at home or at a local craft store:
- Construction paper (various colors)
- Scissors
- Glue stick or white glue
- Googly eyes (optional)
- Markers or crayons
- Pencil
- Ruler
- Tape (optional)
Step-by-Step Instructions
Step 1: Gather and Prepare Materials
- Start by organizing your workspace. Make sure you have all the materials listed above. Lay them out on a flat surface where your child can easily reach everything.
Step 2: Create the Turkey’s Body
- Cut the Body:
- Take a piece of brown construction paper and draw a circle about 2-3 inches in diameter. You can use a small cup or any circular object as a template.
- Cut out the circle. This will be the body of the turkey.
- Add Feathers:
- Choose different colors of construction paper for the turkey’s feathers. Reds, yellows, oranges, and greens work well.
- Draw feather shapes on each piece of colored paper. Each feather should be around 4-5 inches long and about 1 inch wide at the base, tapering to a point.
- Cut out the feathers.
Step 3: Attach the Feathers to the Body
- Position the Feathers:
- Lay the brown circle flat on your workspace.
- Arrange the feathers around the back of the circle, fanning them out to create the turkey’s tail.
- Glue the Feathers:
- Once you’re happy with the arrangement, glue the feathers to the back of the brown circle. Make sure the feathers are evenly spaced and visible from the front.
Step 4: Create the Turkey’s Head and Face
- Cut the Head:
- Draw a smaller circle (about 1 inch in diameter) on a piece of brown construction paper for the turkey’s head.
- Cut out the circle.
- Add Facial Features:
- Glue googly eyes onto the smaller brown circle. If you don’t have googly eyes, you can draw eyes with markers or crayons.
- Cut a small triangle out of yellow or orange construction paper for the beak and glue it below the eyes.
- For the wattle (the fleshy part hanging from a turkey’s beak), cut a small, curved shape from red construction paper and glue it next to the beak.
- Attach the Head to the Body:
- Glue the head to the top front of the larger brown circle, overlapping slightly so the head is securely attached.
Step 5: Make the Finger Puppet Holder
- Cut the Finger Loops:
- Cut a strip of construction paper (any color) about 1 inch wide and 6 inches long.
- Roll the strip into a loop that fits comfortably around a child’s finger and tape or glue the ends together.
- Attach the Loop to the Turkey:
- Glue or tape the loop to the back of the turkey’s body, ensuring it is centered and secure.
Additional Tips and Variations
Personalize the Turkey:
- Encourage your child to add their own decorations to the turkey. They can draw patterns on the feathers, add glitter, or use stickers.
Use Recyclable Materials:
- For an eco-friendly twist, use old magazines or scrap paper to create the feathers and other parts of the turkey.
Incorporate Learning:
- Turn the craft into a learning activity by discussing the different parts of a turkey and their functions. You can also talk about the significance of turkeys in Thanksgiving traditions.
Expand the Project:
- Create an entire turkey family with different sizes and colors of construction paper.
- Make a background scene for the turkeys to live in using more construction paper or a shoebox diorama.
Benefits of Crafting with Kids
Creating a paper turkey finger puppet isn’t just about making a cute holiday decoration; it’s an activity that offers numerous developmental benefits for children:
Fine Motor Skills:
- Cutting, gluing, and drawing help children develop the small muscles in their hands and fingers.
Creativity and Imagination:
- Craft projects encourage children to use their imagination and think creatively. They can experiment with different colors and designs to make their turkey unique.
Following Instructions:
- Crafts often require children to follow a series of steps, which can help improve their ability to follow instructions and enhance their focus and attention to detail.
Cognitive Skills:
- Crafting can introduce children to new concepts and vocabulary, such as the parts of a turkey, the idea of symmetry, and the basics of construction and assembly.
Emotional Benefits:
- Completing a craft project can give children a sense of accomplishment and boost their self-esteem. It’s also a great way for them to express their emotions and ideas.
Making an easy paper turkey finger puppet is a fun and educational activity that you and your children can enjoy together. It’s a perfect way to celebrate the Thanksgiving season, teach about holiday traditions, and develop essential skills. With just a few simple materials and some creativity, you can create adorable turkey puppets that will provide hours of entertainment and learning. So, gather your supplies, set up a crafting space, and let the turkey-making begin!
From all of us at The Kids Point, happy crafting!


