
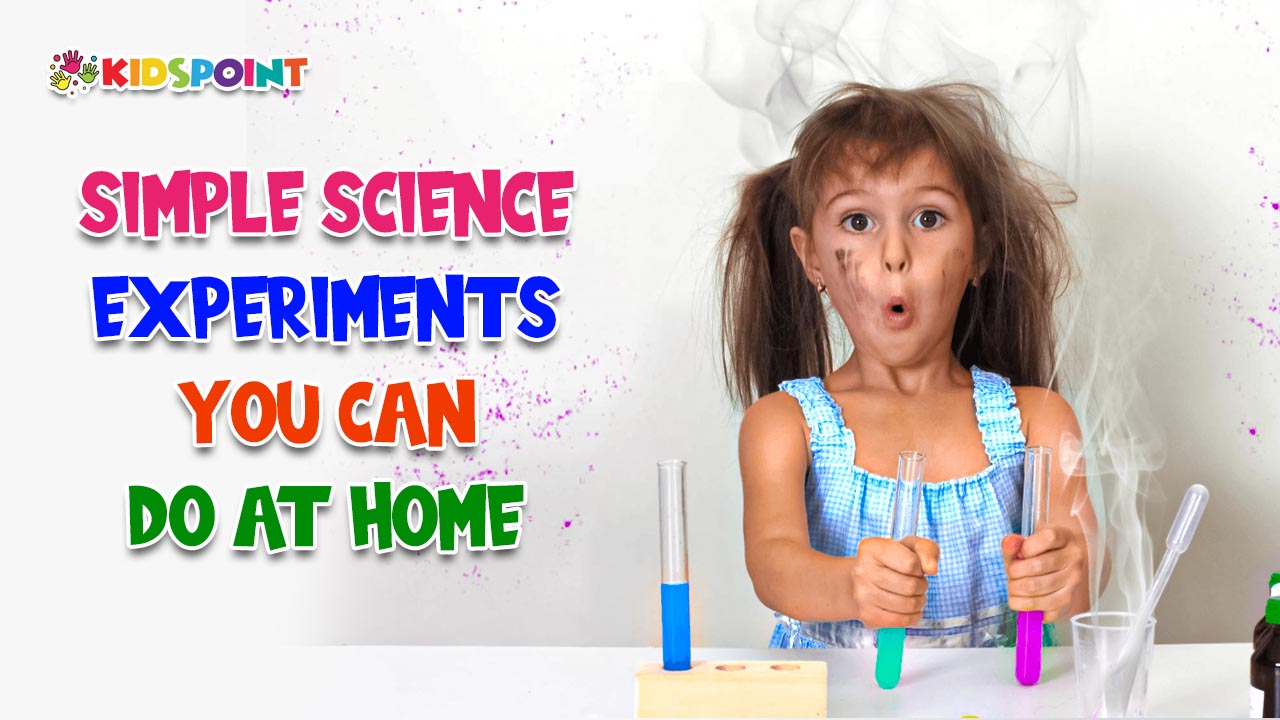
Science experiments aren’t just for classrooms and laboratories; they can also be a fun and educational way to engage the whole family at home. Simple science experiments provide hands-on learning experiences that foster curiosity and creativity. Here are several exciting and easy-to-perform science experiments you can try at home, each with detailed instructions and explanations of the underlying scientific principles. All of these experiments are brought to you by The Kids Point, where we believe in making learning a fun and engaging experience.
Baking Soda and Vinegar Volcano
Materials:
- Baking soda
- Vinegar
- Dish soap
- Food coloring (optional)
- A small container (such as a plastic cup)
- A large tray or baking sheet (to catch the overflow)
Instructions:
- Place the small container on the tray.
- Fill the container halfway with baking soda.
- Add a few drops of dish soap to the baking soda.
- If desired, add a few drops of food coloring for a colorful eruption.
- Pour vinegar into the container and watch the chemical reaction take place.
Explanation:
When baking soda (a base) and vinegar (an acid) are mixed, they react to form carbon dioxide gas. The gas creates bubbles in the dish soap, resulting in a foamy eruption resembling a volcanic eruption. This experiment demonstrates an acid-base reaction and the production of gas.
Lava Lamp Experiment
Materials:
- A clear plastic or glass bottle
- Water
- Vegetable oil
- Food coloring
- Alka-Seltzer tablets
Instructions:
- Fill the bottle about one-quarter full with water.
- Add a few drops of food coloring to the water.
- Fill the rest of the bottle with vegetable oil, leaving some space at the top.
- Break an Alka-Seltzer tablet into pieces and drop them into the bottle one at a time.
- Watch the colorful blobs of “lava” form and rise through the oil.
Explanation:
Water and oil do not mix due to their different densities and polarities. The Alka-Seltzer tablet reacts with the water to produce carbon dioxide gas, which forms bubbles. These bubbles carry the colored water to the top of the oil. When the gas escapes, the water drops back down, creating a mesmerizing lava lamp effect. This experiment illustrates the concepts of density and solubility.
Milk and Dish Soap Experiment
Materials:
- A shallow dish or plate
- Milk (whole milk works best)
- Food coloring
- Dish soap
- Cotton swabs
Instructions:
- Pour milk into the dish to cover the bottom.
- Add drops of different food coloring around the milk.
- Dip a cotton swab in dish soap.
- Touch the surface of the milk with the soapy cotton swab and observe the reaction.
Explanation:
Milk contains fat molecules. When dish soap is added, it breaks down the fat molecules and reduces surface tension, causing the food coloring to swirl and mix in interesting patterns. This experiment demonstrates the properties of surface tension and the action of surfactants.
Homemade Slime
Materials:
- White school glue
- Baking soda
- Contact lens solution (containing boric acid)
- Food coloring (optional)
Instructions:
- Pour 1/2 cup of glue into a bowl.
- Add a few drops of food coloring if desired and mix well.
- Add 1/2 teaspoon of baking soda and stir until combined.
- Gradually add 1 to 2 tablespoons of contact lens solution, stirring continuously, until the mixture thickens and becomes slime.
- Knead the slime with your hands until it reaches the desired consistency.
Explanation:
The glue contains polyvinyl acetate, a polymer. When mixed with baking soda and contact lens solution (which contains boric acid), a chemical reaction occurs, forming cross-links between the polymer chains, creating a stretchy, gooey slime. This experiment demonstrates polymer chemistry and non-Newtonian fluids.
Oobleck
Materials:
- Cornstarch
- Water
- A large bowl
- Food coloring (optional)
Instructions:
- In a large bowl, mix 1 cup of cornstarch with 1/2 cup of water.
- Add a few drops of food coloring if desired.
- Stir the mixture until it becomes a thick, gooey substance.
- Experiment by applying different types of pressure to the mixture (poking, squeezing, pouring).
Explanation:
Oobleck is a non-Newtonian fluid, meaning it behaves like both a solid and a liquid depending on the pressure applied. When you apply pressure, the cornstarch particles lock together, making it feel solid. When you release the pressure, it flows like a liquid. This experiment illustrates the properties of non-Newtonian fluids and the behavior of suspensions.
Rainbow in a Glass
Materials:
- Sugar
- Water
- Food coloring
- A clear glass
- Multiple cups for mixing
Instructions:
- In separate cups, mix 1/4 cup of water with different amounts of sugar to create sugar solutions of varying densities (e.g., 1 tablespoon, 2 tablespoons, 3 tablespoons, and 4 tablespoons of sugar).
- Add a few drops of different food coloring to each cup.
- Carefully layer the solutions in a clear glass, starting with the densest solution at the bottom and the least dense at the top. Pour each layer slowly over the back of a spoon to prevent mixing.
Explanation:
The different sugar solutions have different densities. By carefully layering them, you create a colorful density column. This experiment demonstrates the concept of density and how it affects the behavior of liquids.
Invisible Ink
Materials:
- Lemon juice
- Water
- A cotton swab or paintbrush
- White paper
- A heat source (like a lamp or iron)
Instructions:
- Mix equal parts lemon juice and water.
- Use a cotton swab or paintbrush to write a message or draw a picture on the white paper with the lemon juice mixture.
- Allow the paper to dry completely.
- To reveal the hidden message, gently heat the paper by holding it near a light bulb or ironing it on low heat.
Explanation:
Lemon juice is an organic substance that oxidizes and turns brown when heated. This reaction is not immediately visible but becomes apparent with heat. This experiment shows the chemical reaction of oxidation and how it can be used for creating invisible ink.
Egg in a Bottle
Materials:
- A hard-boiled egg, peeled
- A glass bottle with an opening slightly smaller than the egg
- Matches or a piece of paper
Instructions:
- Light a match or a small piece of paper and drop it into the bottle.
- Quickly place the egg on the mouth of the bottle.
- Watch as the egg gets sucked into the bottle.
Explanation:
When the flame goes out inside the bottle, it cools the air, causing the air pressure inside the bottle to drop. The higher air pressure outside the bottle pushes the egg into the bottle. This experiment demonstrates the concepts of air pressure and vacuum.
Floating and Sinking
Materials:
- A large container filled with water
- Various small objects (e.g., a coin, a plastic toy, a cork, a pebble, a leaf)
Instructions:
- Fill the container with water.
- One by one, place the objects in the water and observe whether they float or sink.
- Sort the objects into two groups: those that float and those that sink.
Explanation:
Objects float or sink based on their density relative to the water. If an object’s density is less than that of water, it will float; if its density is greater, it will sink. This experiment demonstrates the principle of buoyancy and density.
Cabbage pH Indicator
Materials:
- Red cabbage
- Hot water
- A clear glass or jar
- Various household liquids (e.g., vinegar, baking soda solution, lemon juice, soap solution)
Instructions:
- Chop the red cabbage into small pieces and place them in a large bowl.
- Pour hot water over the cabbage and let it sit until the water turns dark purple.
- Strain the liquid into a clear glass or jar.
- Test various household liquids by adding a small amount to separate portions of the cabbage juice.
- Observe the color change to determine the pH of each liquid.
Explanation:
Red cabbage contains a natural pH indicator that changes color depending on the acidity or alkalinity of a solution. Acidic solutions turn the indicator red or pink, neutral solutions keep it purple, and alkaline solutions turn it green or blue. This experiment demonstrates how pH indicators work and the concept of acidity and alkalinity.
These simple science experiments provided by The Kids Point offer a hands-on way to explore various scientific principles at home. Each experiment not only entertains but also educates, making learning fun and interactive. Whether you are looking to teach children about chemistry, physics, or biology, these activities offer valuable lessons and the opportunity to develop critical thinking skills. So gather your materials, follow the instructions, and enjoy the fascinating world of science right in your own home!