

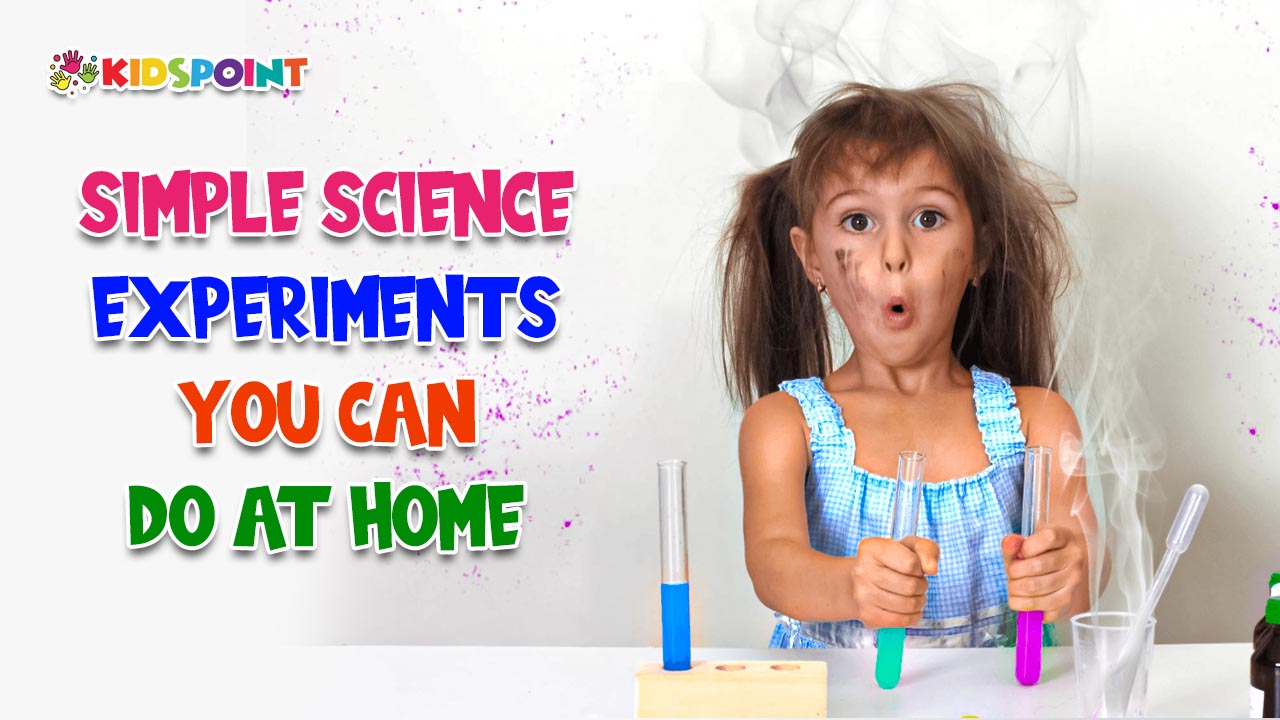
Simple science experiments for kids turn everyday household materials into hands-on learning activities. Children can explore chemical reactions, density, surface tension, polymers, pH, buoyancy, and more with easy projects such as a baking soda volcano, lava lamp, oobleck, rainbow in a glass, and floating-and-sinking challenge.
Why Simple Science Experiments Are Great for Kids
Science becomes easier to understand when children can see a concept happening in front of them.
Instead of only reading about chemical reactions, density, surface tension, or pH, kids can make observations, ask questions, make predictions, and compare results.
At The Kids Point, we believe hands-on activities can make learning more engaging and encourage children to stay curious about how the world works.
Simple experiments can also introduce children to the basic scientific process:
- Ask a question.
- Make a prediction or hypothesis.
- Gather materials.
- Perform the experiment.
- Observe what happens.
- Record or discuss the results.
- Think about what the results mean.
For a simple explanation of these terms, see our Simple Science Definitions for Kids: Understanding Key Concepts.
10 Simple Science Experiments for Kids at Home
These activities use familiar materials and introduce different areas of science. Adult supervision is recommended, particularly when an experiment involves food coloring, cleaning products, hot water, small objects, or materials that should not be swallowed.
1. Baking Soda and Vinegar Volcano
What kids explore: Chemical reactions and carbon dioxide gas
This classic experiment creates a bubbly, foamy eruption when baking soda and vinegar are combined.
Materials:
- Baking soda
- Vinegar
- Dish soap
- Food coloring, optional
- Small container
- Large tray or baking sheet
Steps:
- Place the small container on a tray.
- Add baking soda to the container.
- Add a small amount of dish soap.
- Add food coloring if desired.
- Pour vinegar into the container.
- Watch the mixture fizz and foam.
What’s happening?
Baking soda and vinegar react and produce carbon dioxide gas. The gas forms bubbles in the liquid, while the dish soap helps trap those bubbles and create the foamy eruption.
Try this: Ask your child what they think will happen if you change the amount of baking soda or vinegar. Make one change at a time and compare the results.
2. Homemade Lava Lamp
What kids explore: Density, liquids, and gas bubbles
This colorful activity creates moving blobs that look similar to a lava lamp.
Materials:
- Clear plastic bottle or suitable clear container
- Water
- Vegetable oil
- Food coloring
- Effervescent antacid tablet
Steps:
- Fill about one-quarter of the container with water.
- Add several drops of food coloring.
- Add vegetable oil, leaving some space at the top.
- Break the effervescent tablet into smaller pieces.
- Add a piece to the container.
- Watch the colored blobs move through the oil.
What’s happening?
Oil and water do not mix, and they have different densities. The tablet reacts in the water and produces carbon dioxide bubbles. The bubbles temporarily carry colored water upward before the water settles back down.
Safety note: Use an appropriate container and do not seal a container while an active gas-producing reaction is taking place.
3. Magic Milk and Dish Soap Experiment
What kids explore: Surface tension and surfactants
This colorful experiment lets children watch food coloring move across milk when dish soap is introduced.
Materials:
- Shallow dish
- Milk
- Food coloring
- Dish soap
- Cotton swab
Steps:
- Pour enough milk into the dish to cover the bottom.
- Place several drops of different food colors around the milk.
- Put a small amount of dish soap on a cotton swab.
- Touch the soapy cotton swab to the milk.
- Watch the colors move and form patterns.
What’s happening?
Dish soap interacts with components in the milk and changes surface behavior, causing movement that carries the food coloring around the dish.
Try this: Compare different types of milk and ask your child whether the patterns change.
4. Homemade Slime
What kids explore: Polymers and changes in material properties
Homemade slime provides a hands-on introduction to how materials can change when ingredients interact.
Materials:
- White school glue
- Baking soda
- Contact lens solution containing an appropriate borate ingredient
- Food coloring, optional
- Mixing bowl
Steps:
- Add school glue to a bowl.
- Add food coloring if desired.
- Mix in baking soda.
- Add a small amount of contact lens solution while stirring.
- Continue mixing until the mixture thickens.
- Knead the slime until it reaches a workable consistency.
What’s happening?
School glue contains polymers. Ingredients in the activating solution can help create connections between polymer chains, changing the mixture’s texture and making it stretchy.
Safety note: Follow the product labels, keep the mixture away from eyes and mouths, wash hands after handling, and do not allow children to eat the slime.
5. Oobleck
What kids explore: Non-Newtonian fluids and suspensions
Oobleck is a fascinating mixture that behaves differently when it is squeezed or left alone.
Materials:
- Cornstarch
- Water
- Large bowl
- Food coloring, optional
Steps:
- Add cornstarch to a bowl.
- Slowly add water while mixing.
- Continue until you have a thick mixture.
- Add food coloring if desired.
- Poke, squeeze, or gently press the mixture.
- Compare what happens when you stop applying pressure.
What’s happening?
Oobleck is a suspension that can behave differently depending on how force is applied. Under quick pressure, it can feel more solid; when left alone, it can flow more easily.
Try this: Ask your child to predict whether the mixture will feel solid or liquid before each test.
6. Rainbow in a Glass
What kids explore: Density and liquid layering
Different sugar concentrations can be used to create layers of colored liquid with different densities.
Materials:
- Sugar
- Water
- Food coloring
- Clear glass
- Several small cups
- Spoon
Steps:
- Pour equal amounts of water into several cups.
- Add different amounts of sugar to each cup.
- Stir until the sugar dissolves.
- Add a different food color to each solution.
- Carefully layer the solutions in a clear glass.
- Start with the densest solution and work toward the least dense.
What’s happening?
Adding different amounts of dissolved sugar changes the density of the solutions. With careful layering, the denser liquids can remain below less-dense liquids.
Try this: Have your child predict which solution should go at the bottom before beginning.
7. Invisible Ink
What kids explore: Chemical changes caused by heat
This classic activity uses lemon juice to create a hidden message.
Materials:
- Lemon juice
- Water
- Cotton swab or paintbrush
- White paper
Steps:
- Mix lemon juice with a small amount of water.
- Dip a cotton swab or paintbrush into the mixture.
- Write a message or draw a picture on paper.
- Allow the paper to dry completely.
- For the revealing step, use an adult-controlled, age-appropriate method and follow the equipment manufacturer’s safety instructions.
What’s happening?
Organic compounds in lemon juice can undergo chemical changes when heated, causing the previously difficult-to-see writing to become darker.
Important safety note: The original article recommended using a light bulb or iron as the heat source. That instruction should be professionally reviewed before publication because heat sources can cause burns or fire. For a child-focused website, consider replacing the heat-reveal step with a safer demonstration or an adult-only demonstration.
8. Floating and Sinking Challenge
What kids explore: Density and buoyancy
This simple water experiment lets children make predictions and test everyday objects.
Materials:
- Large container of water
- Several safe household objects, such as:
- Plastic toy
- Cork
- Pebble
- Leaf
- Coin
Steps:
- Fill the container with water.
- Show the child one object at a time.
- Ask them to predict whether it will float or sink.
- Place the object in the water.
- Record the result.
- Sort the objects into floating and sinking groups.
What’s happening?
Whether an object floats or sinks depends on factors including its average density and how it displaces water. This activity provides a simple introduction to buoyancy and density.
Try this: Ask your child to find another safe object and predict its result before testing it.
9. Red Cabbage pH Indicator
What kids explore: Acids, bases, and natural indicators
Red cabbage contains pigments that can change color when they interact with acidic or alkaline substances.
Materials:
- Red cabbage
- Hot water
- Clear glass or jar
- Small containers
- Safe household liquids for testing, such as vinegar or lemon juice
Steps:
- Chop red cabbage into small pieces.
- Have an adult prepare hot water.
- Pour the hot water over the cabbage.
- Allow the mixture to sit until the water becomes purple.
- Strain the liquid into a suitable container.
- Place small portions into separate containers.
- Add small amounts of different test liquids.
- Observe the color changes.
What’s happening?
Red cabbage contains anthocyanin pigments that respond to changes in acidity. Different substances can produce different colors, giving children a visual introduction to pH.
Safety note: Do not taste any experiment materials. Only test substances that an adult has confirmed are appropriate for this activity.
10. Walking Water Color Experiment
What kids explore: Capillary action and color mixing
Walking water creates a colorful demonstration of how water can move through paper towels.
Materials:
- 3–5 clear cups
- Water
- Food coloring
- Paper towels
Steps:
- Arrange the cups in a row.
- Fill selected cups with colored water.
- Leave the cups between them empty.
- Fold paper towels into strips.
- Place one end of each paper towel into a cup of colored water and the other end into the neighboring cup.
- Wait and observe.
- Watch the colored water travel through the paper towels.
What’s happening?
Water can move through the tiny spaces in paper towels through capillary action. The colored water can travel from one cup to another, where colors may mix.
Try this: Ask your child how long they think the water will take to reach the empty cup. Record the prediction and compare it with the result.
How to Make These Experiments More Educational
The most valuable part of a science experiment is not simply seeing something happen. Encourage children to think about why it happened.
Ask for a Prediction Before Each Experiment
Try: “What do you think will happen?”
There is no need for the prediction to be correct. The purpose is to encourage children to make a testable idea.
Change One Variable at a Time
For example, when testing a baking soda and vinegar reaction, change one ingredient amount rather than changing several things simultaneously.
This helps children understand how different factors can influence results.
Keep a Simple Science Journal
Children can record:
- The experiment name
- Their prediction
- Materials used
- What happened
- A drawing
- A measurement, when appropriate
- What they learned
Encourage Questions
If something unexpected happens, don’t immediately provide the answer.
Ask: “Why do you think that happened?”
This turns an activity into an investigation.
Simple Science Questions Kids Can Ask During an Experiment
Use these questions to turn a quick activity into a mini science lesson:
- What do I think will happen?
- What actually happened?
- Why might that have happened?
- What could I change?
- What should I keep the same?
- Can I repeat the experiment?
- Did the result match my prediction?
- What did I learn?
- What question could I investigate next?
For younger children, even one or two questions can be enough.
Science Safety Tips for Kids at Home
Simple experiments should always be age-appropriate and supervised by a responsible adult when needed.
Follow These Basic Safety Rules
- Read all instructions before starting.
- Have an adult help with any hot water or potentially hazardous equipment.
- Never taste experiment materials.
- Keep materials away from eyes and mouths.
- Wash hands after experiments.
- Protect tables and floors from spills.
- Use containers appropriate for the activity.
- Keep small parts away from young children.
- Follow product labels for household products.
- Stop an experiment if something unexpected or unsafe occurs.
- Never mix household cleaning chemicals.
- Avoid experiments involving flames or other uncontrolled heat sources unless they are being handled by an appropriately trained adult in a suitable setting.
Why you can trust this guide: The Kids Point presents these activities as educational, hands-on ideas rather than medical or professional laboratory procedures. Safety instructions should always take priority over completing an experiment.
Frequently Asked Questions
What are the easiest science experiments for kids at home?
Some of the easiest options are the floating-and-sinking challenge, baking soda and vinegar volcano, oobleck, magic milk, and walking water. They use relatively simple materials and allow children to observe visible changes.
What can kids learn from simple science experiments?
Kids can explore concepts such as chemical reactions, density, surface tension, polymers, pH, buoyancy, capillary action, and observation. Experiments also give children opportunities to make predictions and compare results.
What science experiments can kids do with household items?
Many activities can use everyday materials such as water, paper towels, cornstarch, baking soda, vinegar, milk, food coloring, sugar, and vegetable oil. Always check that each material is appropriate and safe for the child’s age.
Should an adult supervise science experiments?
Yes. Adult supervision is especially important when activities involve hot water, small objects, household products, glass containers, or other potential hazards. Younger children should not perform experiments independently.
How can I make science experiments more educational?
Ask children to predict what will happen, observe carefully, record results, change one variable at a time, and explain what they think happened. This introduces basic scientific thinking rather than simply following instructions.
What age are these science experiments suitable for?
Suitability varies by activity and child. Younger children can participate in simple observation-based activities with close adult supervision, while older children can take a more independent role in making predictions, recording observations, and discussing explanations.
Can these experiments be used for school science projects?
Yes, several can be adapted into simple science investigations. Instead of only demonstrating the result, have the child develop a question, make a prediction, test one variable, record observations, and explain the conclusion.
Explore More Science and STEM Activities
If your child enjoys these experiments, continue exploring hands-on learning with The Kids Point.
For more science vocabulary and explanations, explore Simple Science Definitions for Kids: Understanding Key Concepts.
For broader hands-on learning, try Easy and Fun STEM Activities Every Kid Will Love.
Children who enjoy building can also explore Building Strong Bridges with Popsicle Sticks: A STEM Activity.
Science does not need to happen in a laboratory. With a few everyday materials, children can observe reactions, make predictions, ask questions, and discover how scientific ideas connect to the world around them.
From a fizzy baking soda volcano to colorful walking water, these simple science experiments for kids offer practical ways to make learning interactive.
At The Kids Point, we want children to see science as something they can explore, question, and enjoy—not simply a subject they study at school.
Ready for more hands-on learning? Visit The Kids Point for more science experiments, STEM projects, educational activities, creative ideas, and family-friendly learning resources. Explore The Kids Point and discover new ways to turn everyday moments into opportunities for curiosity and learning.