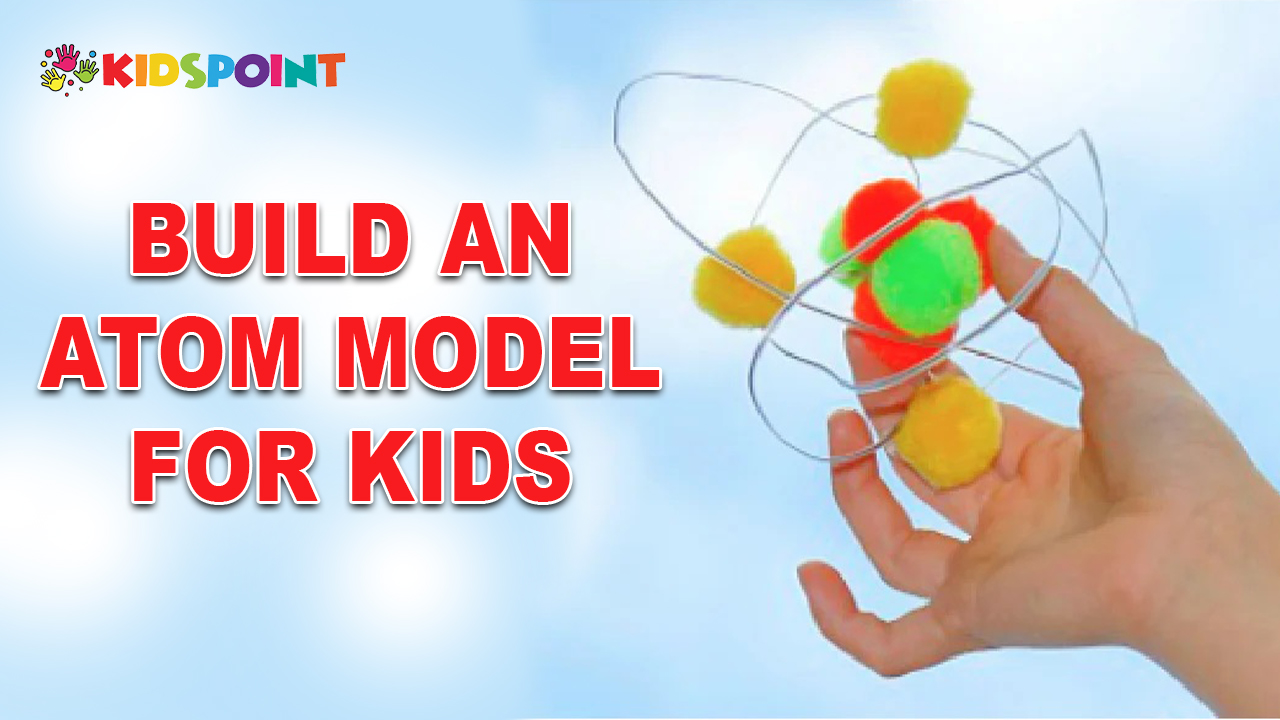
Science can be fascinating, especially when it comes to understanding the building blocks of the universe. One exciting way to introduce kids to the world of science is by helping them build a model of an atom. This hands-on project, brought to you by The Kids Point, not only sparks curiosity but also provides a tangible representation of the tiny particles that make up everything around us. In this guide, we’ll walk you through the process of creating a simple and engaging atom model for kids.
Understanding Atoms
Before diving into the project, it’s essential to have a basic understanding of what an atom is. Atoms are the smallest units of matter and the fundamental building blocks of everything we see and touch. They consist of three main subatomic particles: protons, neutrons, and electrons.
Protons: Positively charged particles found in the nucleus of an atom.
Neutrons: Neutral particles also located in the nucleus, providing mass to the atom.
Electrons: Negatively charged particles orbiting the nucleus in electron shells.
The arrangement and interaction of these particles determine the properties of different elements. Now, let’s explore how to bring this knowledge to life with a hands-on activity.
Materials Needed
Before starting the project, gather the following materials:
- Styrofoam balls (different sizes)
- Toothpicks or small wooden sticks
- Acrylic paint or markers
- Colored paper
- Glue
- String or thin wire
- Small magnets (optional)
- Scissors
Step-by-Step Guide
Step 1: Choose Your Elements
Begin by selecting the elements you want to represent in your atom model. It’s a good idea to start with simple elements like hydrogen or helium. This will make the project more manageable, especially for younger kids.
Step 2: Styrofoam Nucleus
Take one of the larger Styrofoam balls to represent the nucleus of the atom. This will be the central part where protons and neutrons are located. You can paint the Styrofoam ball in a color that represents the element you’ve chosen. For example, helium is often associated with a light blue color.
Step 3: Protons and Neutrons
Using toothpicks or small wooden sticks, attach smaller Styrofoam balls to the main nucleus to represent protons and neutrons. Paint the protons a different color from the neutrons, allowing for a visual distinction between the two. Remember that protons have a positive charge, so you might want to add a small plus sign (+) to them.
Step 4: Electron Shells
Cut circles from colored paper to represent electron shells. Attach these circles to the toothpicks or sticks, positioning them at various distances from the nucleus. The number of electron shells depends on the element you’re modeling. Hydrogen, for example, has only one electron shell, while helium has two.
Step 5: Electrons
Attach smaller Styrofoam balls to the electron shells to represent electrons. Use a different color for electrons to distinguish them from protons and neutrons. Since electrons have a negative charge, you can add a small minus sign (-) to them.
Step 6: Orbits and Paths
For added creativity, use string or thin wire to create paths for electrons to follow around the nucleus. This gives a more dynamic look to your atom model, illustrating the concept of electron orbits.
Step 7: Optional Magnet Feature
To demonstrate the attractive force between protons and electrons, consider attaching small magnets to the protons and electrons. This simple addition adds an interactive element to the model, allowing kids to explore the concept of atomic attraction.
Step 8: Labeling
Finally, add labels to your atom model. Include the name of the element, the number of protons, neutrons, and electrons it has, and any other relevant information. This step reinforces learning and turns the model into an informative educational tool.
Learning Through Play
Building an atom model for kids is more than just a craft project; it’s a hands-on learning experience. Here are some educational aspects of this activity:
Conceptual Understanding: The process of physically constructing an atom model helps kids grasp the abstract concept of atomic structure.
Elementary Science Principles: Kids learn about the basic components of an atom, including protons, neutrons, and electrons, as well as their charges and locations.
Creativity and Expression: Painting and decorating the model allow kids to express their creativity while reinforcing the visual representation of elements.
Fine Motor Skills: Manipulating small objects, attaching them with toothpicks, and painting Styrofoam balls enhance fine motor skills in younger children.
Interactive Learning: Adding magnets and creating paths for electrons make the model interactive, providing a dynamic way for kids to explore atomic interactions.
Extension Activities
Once the atom models are complete, consider extending the learning experience with additional activities:
Element Scavenger Hunt: Encourage kids to find everyday items around the house that contain the element they modeled. This connects the abstract concept of atoms to the tangible world.
Research Project: For older kids, turn the activity into a research project. Have them explore the properties and uses of the element they modeled, fostering independent learning.
Atom Building Game: Create a game where kids build atoms of different elements and earn points based on accuracy and speed. This adds an element of friendly competition to the learning process.
Periodic Table Exploration: Introduce the periodic table and discuss how elements are organized. Help kids find the element they modeled and understand its place in the larger scheme of elements.
Building an atom model for kids is an engaging and effective way to introduce them to the fascinating world of atomic science. This hands-on activity, brought to you by The Kids Point, not only reinforces scientific concepts but also encourages creativity and critical thinking. As children proudly display their atom models, they carry with them a newfound appreciation for the tiny building blocks that make up our vast universe. Remember, the key is to make learning fun, and what could be more fun than creating your own miniature atomic world?


