
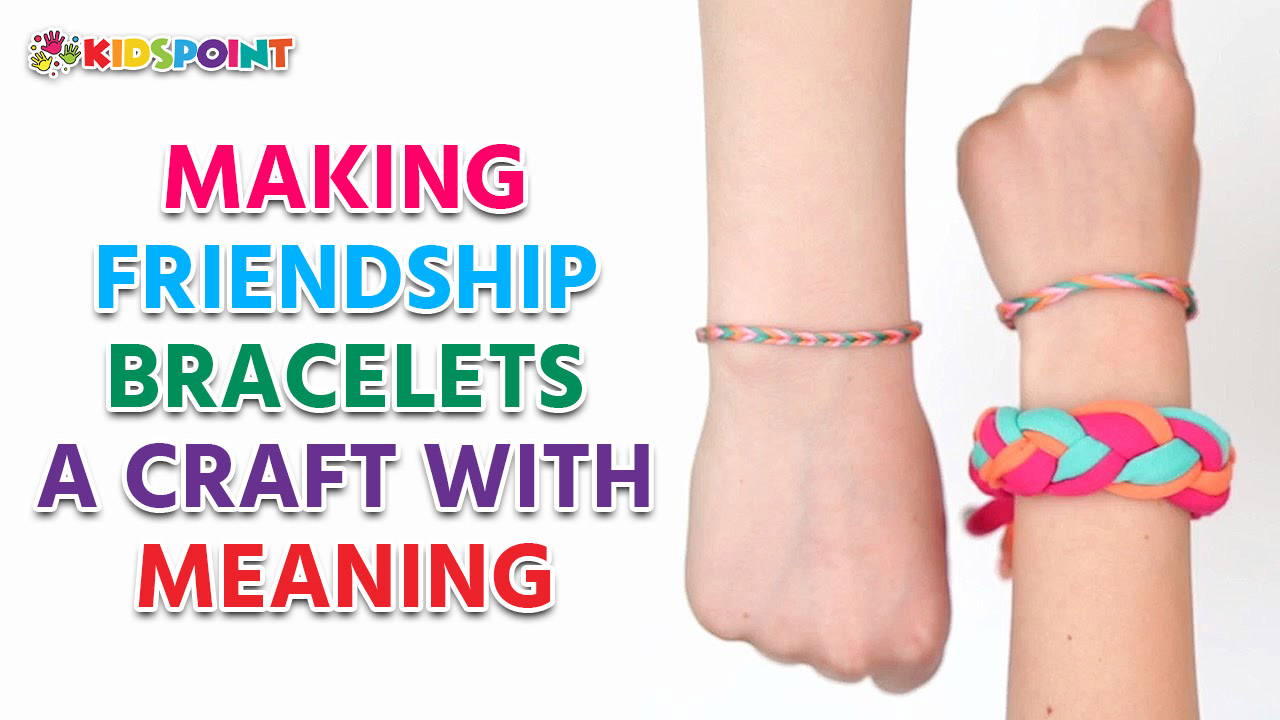
Friendship bracelets are more than just colorful accessories; they are symbols of connection, creativity, and cherished memories. This craft, beloved by children and adults alike, carries a deep significance and offers numerous benefits. At The Kids Point, we believe in the power of crafting to bring people together and inspire creativity. Let’s delve into the history, significance, techniques, and benefits of making friendship bracelets.
The History of Friendship Bracelets
Friendship bracelets have a rich history that dates back centuries. Their origins can be traced to indigenous cultures in Central and South America, particularly among the tribes of Guatemala and Brazil. These bracelets were traditionally made from natural materials like plant fibers and were often given as gifts to symbolize friendship and unity.
In the 1970s, friendship bracelets gained popularity in the United States as part of the peace and love movement. They became a symbol of camaraderie and were exchanged among friends as tokens of loyalty and affection. Today, they are a global phenomenon, enjoyed by people of all ages and backgrounds.
The Significance of Friendship Bracelets
The act of making and giving a friendship bracelet carries deep meaning. Each bracelet is a unique creation, often personalized with specific colors, patterns, and charms that hold special significance for the giver and the recipient. Here are some key aspects of their significance:
Symbol of Friendship
At its core, a friendship bracelet is a symbol of friendship. The time and effort invested in crafting a bracelet reflect the value of the relationship. It’s a tangible way to show someone that they are appreciated and cared for.
Cultural Significance
In many cultures, friendship bracelets are associated with specific traditions and rituals. For example, in some Native American tribes, they are used in ceremonies to symbolize unity and solidarity. Understanding these cultural roots adds depth to the practice of making and exchanging these bracelets.
Personal Expression
Friendship bracelets offer a canvas for personal expression. The choice of colors, patterns, and materials allows the creator to infuse the bracelet with their unique style and sentiment. This personal touch makes each bracelet a one-of-a-kind piece.
Techniques for Making Friendship Bracelets
Making friendship bracelets involves a variety of techniques, ranging from simple knots to intricate patterns. Here are some popular methods:
Basic Knotting
The simplest form of friendship bracelet involves basic knotting techniques. The most common knots used are the forward knot and the backward knot. These knots can be combined in different ways to create patterns such as stripes, chevrons, and diamonds.
Materials Needed:
- Embroidery floss or yarn in various colors
- Scissors
- Tape or a clipboard to hold the bracelet in place while working
Steps:
- Choose Your Colors: Select several strands of embroidery floss in your preferred colors. Traditionally, friendship bracelets use between 4 and 8 strands.
- Cut and Arrange: Cut the strands to an equal length (about 24-30 inches). Arrange them in the order you want the colors to appear in the bracelet.
- Secure the Strands: Tie a knot at one end of the strands and tape it down to a flat surface or secure it with a clipboard.
- Begin Knotting: Use forward and backward knots to create your desired pattern. A forward knot is made by wrapping one strand over another and pulling it through the loop. A backward knot is the reverse.
Advanced Patterns
For those looking to create more intricate designs, there are advanced patterns that involve a combination of knots and techniques. Some popular patterns include the following:
Chevron Pattern
The chevron pattern is a classic design that forms a V-shape. It’s created by making rows of forward and backward knots.
Steps:
- Set Up: Follow the same steps for basic knotting to cut and arrange your strands.
- Knotting: Start from the outermost strands and work your way inward, using forward knots on one side and backward knots on the other. Repeat this process, always starting from the outer strands.
Diamond Pattern
The diamond pattern is more complex and involves creating diamond shapes within the bracelet.
Steps:
- Set Up: Cut and arrange your strands as described above.
- Knotting: Start by making a chevron pattern, then switch to backward knots to create the diamond shapes. This pattern requires careful counting and attention to detail.
Adding Beads and Charms
To add an extra layer of personalization, beads and charms can be incorporated into friendship bracelets. These elements can represent specific memories, interests, or qualities of the person receiving the bracelet.
Steps:
- Choose Beads/Charms: Select beads and charms that complement your color scheme and have special meaning.
- Threading: As you create the bracelet, thread the beads or charms onto the strands at desired intervals.
- Secure: Ensure the beads and charms are secured in place by knotting around them.
Benefits of Making Friendship Bracelets
The process of making friendship bracelets offers numerous benefits, particularly for children. At The Kids Point, we emphasize activities that promote holistic development, and friendship bracelet-making is a perfect example. Here are some key benefits:
Enhances Fine Motor Skills
Crafting friendship bracelets requires precise movements and coordination, which helps improve fine motor skills. Children develop better hand-eye coordination and dexterity as they manipulate the strands and create knots.
Encourages Creativity
Friendship bracelet-making is an excellent outlet for creativity. Children can experiment with different colors, patterns, and designs, fostering their artistic abilities and imagination.
Promotes Patience and Focus
Creating a friendship bracelet is a time-consuming process that requires patience and focus. Children learn to concentrate on the task at hand and see a project through to completion, which are valuable life skills.
Fosters Social Connections
Making and exchanging friendship bracelets is a social activity that encourages interaction and communication. Children learn the importance of giving and receiving, fostering empathy and strengthening social bonds.
Provides a Sense of Accomplishment
Completing a friendship bracelet gives children a sense of accomplishment and pride in their work. This boost in self-esteem can have a positive impact on other areas of their lives.
Friendship Bracelet Projects for Kids
At The Kids Point, we offer a variety of friendship bracelet projects that cater to different skill levels and interests. Here are some fun and engaging projects for kids:
Beginner Project: Simple Braided Bracelet
This project is perfect for younger children or beginners. It involves basic braiding techniques and can be completed relatively quickly.
Materials Needed:
- Three strands of embroidery floss or yarn
- Tape or a clipboard
Steps:
- Choose Colors: Select three strands of embroidery floss in different colors.
- Cut and Secure: Cut the strands to an equal length and secure them at one end.
- Braid: Divide the strands into three sections and braid them together.
- Finish: Tie a knot at the end of the braid and trim any excess.
Intermediate Project: Chevron Bracelet
This project is ideal for children who have mastered basic knotting techniques and are ready for more complex patterns.
Materials Needed:
- Embroidery floss in multiple colors
- Scissors
- Tape or a clipboard
Steps:
- Choose Colors: Select several strands of embroidery floss in your preferred colors.
- Cut and Arrange: Cut the strands to an equal length and arrange them in the desired order.
- Knotting: Follow the steps for creating a chevron pattern as described earlier.
- Finish: Tie a knot at the end of the bracelet and trim any excess.
Advanced Project: Beaded Friendship Bracelet
For older children or those looking for a challenge, this project incorporates beads and charms into the design.
Materials Needed:
- Embroidery floss or yarn
- Beads and charms
- Scissors
- Tape or a clipboard
Steps:
- Choose Colors and Beads: Select strands of embroidery floss and beads that complement each other.
- Cut and Arrange: Cut the strands to an equal length and arrange them in the desired order.
- Thread Beads: Thread the beads onto the strands at desired intervals.
- Knotting: Create your pattern, incorporating the beads as you go.
- Finish: Tie a knot at the end of the bracelet and trim any excess.
Hosting a Friendship Bracelet Workshop
At The Kids Point, we believe in the power of community and shared experiences. Hosting a friendship bracelet workshop is a wonderful way to bring children together, foster creativity, and build lasting connections. Here’s how to organize a successful workshop:
Planning the Workshop
- Set a Date and Time: Choose a date and time that works for your participants. Weekends or school holidays are ideal.
- Gather Materials: Ensure you have all the necessary materials, including embroidery floss, scissors, beads, and charms.
- Create a Comfortable Space: Set up a comfortable and inviting space for the workshop. Provide tables and chairs, and ensure there’s enough room for everyone to work.
Workshop Activities
- Introduction: Begin the workshop with a brief introduction to the history and significance of friendship bracelets. Explain the different techniques and patterns.
- Demonstration: Demonstrate the basic knotting techniques and patterns. Show examples of completed bracelets to inspire participants.
- Hands-On Activity: Allow participants to choose their colors and materials and start creating their bracelets. Provide guidance and assistance as needed.
- Sharing and Exchange: Encourage participants to share their creations and exchange bracelets with each other. This fosters a sense of community and appreciation for each other’s work.
Additional Tips
- Age-Appropriate Projects: Tailor the projects to the age and skill level of the participants. Younger children may prefer simple braiding, while older children can tackle more complex patterns.
- Personalization: Encourage participants to personalize their bracelets with beads and charms that hold special meaning.
- Positive Environment: Create a positive and supportive environment where participants feel encouraged and inspired.
Making friendship bracelets is a meaningful and enjoyable craft that offers numerous benefits. From enhancing fine motor skills to fostering social connections, this activity is a valuable tool for personal and social development. At The Kids Point, we are passionate about promoting creative and educational activities that bring joy and enrichment to children’s lives. So, gather your materials, choose your colors, and start creating beautiful friendship bracelets that carry a special meaning and connect you with others in a unique and heartfelt way.