
Paper plate crafts are not only enjoyable for kids but also an excellent way to engage them in creative and educational activities. One such craft idea is making a paper plate clock. This craft not only teaches children about telling time but also enhances their fine motor skills and creativity. In this comprehensive guide brought to you by The Kids Point, we’ll walk you through the steps of creating a paper plate clock with your kids, along with tips and ideas to make it a fun learning experience.
Understanding the Basics of Telling Time
Before diving into the craft project, it’s essential for kids to have a basic understanding of telling time. You can start by introducing them to the concepts of hours, minutes, and seconds. Use a traditional clock or visual aids to explain how the hands of a clock move to indicate different times. Interactive games and activities can also make learning about time more engaging for kids.
Materials Needed for Paper Plate Clock Craft
Gather the following materials to get started with the paper plate clock craft:
- Paper plates (preferably sturdy ones)
- Markers or crayons
- Scissors
- Brass fasteners
- Construction paper
- Glue
- Optional: stickers, glitter, or other decorative materials
>> Also Read: Unlocking Creativity: DIY Craft Ideas for Kids
Step-by-Step Instructions
- Begin by laying out the paper plates and markers/crayons on a clean, flat surface.
- Invite the kids to decorate the paper plates. Encourage them to be creative with colors and designs.
- Once the plates are decorated to their liking, use the scissors to cut out two small rectangles from the construction paper. These will serve as the clock hands.
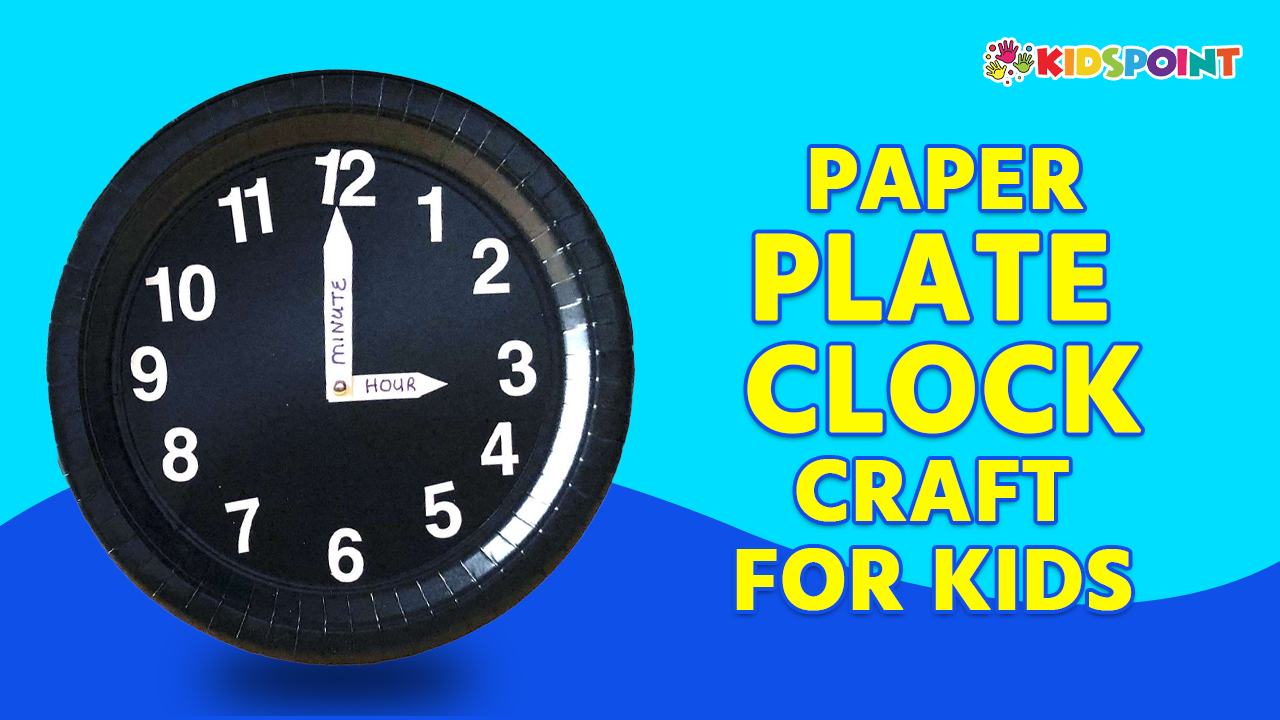
- On one of the paper plates, use a marker to draw a circle in the center to represent the clock face.
- Next, carefully poke a hole in the center of both paper plates using the scissors or a hole punch.
- Align the two paper plates together, ensuring that the clock face is visible on the front plate.
- Insert a brass fastener through the holes in the center of the plates and secure it in place by opening the fastener on the backside.
- Attach the construction paper clock hands to the front plate using glue. The longer hand represents the minutes, while the shorter hand represents the hours.
- Allow the glue to dry completely before moving on to the next step.
- Once the glue is dry, demonstrate how to move the clock hands to different positions to tell the time.
- Encourage the kids to practice telling time using their paper plate clocks. You can create various scenarios or use a real clock to quiz them on different times of the day.
Additional Tips and Ideas
- To make the craft more interactive, you can add numbers around the edge of the clock face using stickers or markers.
- Encourage kids to personalize their paper plate clocks by adding their names or drawings to the back of the plates.
- Use the paper plate clocks as teaching tools during daily routines, such as meal times or bedtime, to reinforce the concept of telling time.
- If you’re doing this craft with a group of children, consider hosting a “clock-making” party where they can share their creations and practice telling time together.
>> Also Read: Crafty Play Ideas for Kids: Fostering Creativity and Learning Through Fun Activities
Benefits of Paper Plate Clock Craft
Engaging children in a paper plate clock craft offers several benefits, including:
- Enhancing fine motor skills through cutting, coloring, and assembling the craft materials.
- Stimulating creativity and imagination as kids decorate their paper plate clocks.
- Teaching valuable life skills such as telling time in a fun and hands-on way.
- Fostering teamwork and social interaction when done as a group activity.
- Providing a sense of accomplishment as children proudly display their finished paper plate clocks.
Creating a paper plate clock with kids is not only a fun craft activity but also a valuable learning experience. By following the step-by-step instructions outlined in this guide and incorporating additional tips and ideas, you can make the process enjoyable and educational for children of all ages. So gather your materials, unleash your creativity, and embark on a journey to explore the fascinating world of time-telling with paper plate clocks, brought to you by The Kids Point!