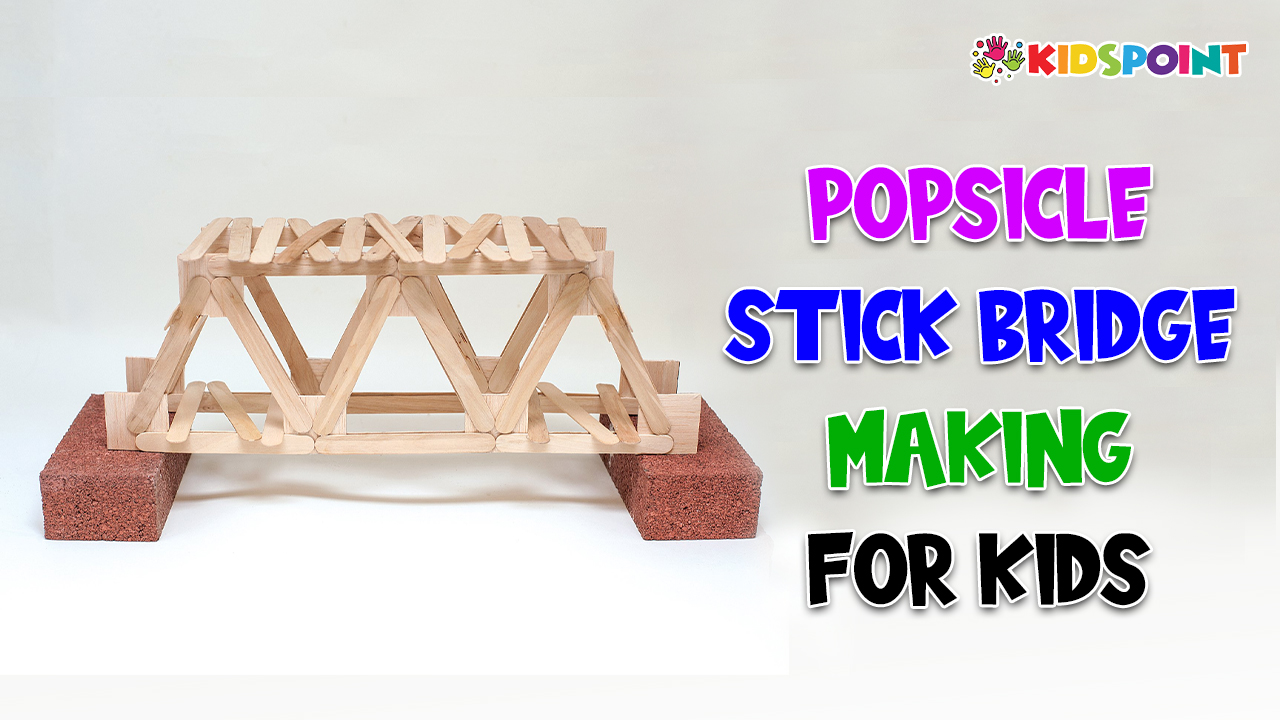
Popsicle stick bridge making is not just a fun craft activity for kids; it’s also a fantastic way to introduce them to basic engineering concepts. Building bridges with popsicle sticks can be an educational and enjoyable experience, blending creativity with practical problem-solving skills. In this comprehensive guide, we’ll explore everything you need to know about making popsicle stick bridges with kids, with insights from The Kids Point, our company dedicated to promoting educational and entertaining activities for children.
Understanding Basic Engineering Principles
Before diving into building popsicle stick bridges, it’s helpful for kids to understand some basic engineering principles.
Introduce concepts like load-bearing, tension, compression, and stability in simple terms.
Use everyday examples like bridges, buildings, and even toys to illustrate these principles.
Materials Needed
- Popsicle sticks (plain or colored)
- Glue (wood glue or craft glue)
- Paints, markers, or decorative materials for embellishments
- Ruler or measuring tape
- Pencil and paper for sketching designs
- Weighing scale or small weights for testing the strength of the bridges
Designing Your Bridge
- Encourage kids to sketch out their bridge designs on paper first. This helps them visualize their ideas and plan the construction process.
- Discuss different bridge types (e.g., beam, truss, arch) and their unique features. This can inspire creativity and exploration in design.
- Emphasize the importance of balance, symmetry, and structural integrity in their designs.
Construction Techniques
- Start by laying out the popsicle sticks according to the design plan.
- Use glue sparingly but effectively. Apply a thin layer of glue to the points of contact between sticks for a strong bond.
- Experiment with different assembly methods such as stacking, weaving, or overlapping sticks to create sturdy joints.
- Reinforce critical areas with additional popsicle sticks or braces for added strength.
Testing and Iteration
- Once the bridge is complete, it’s time for testing! Place the bridge between two supports (e.g., books or blocks) and gradually add weight to the center.
- Record the maximum weight the bridge can hold before collapsing. Encourage kids to analyze why the bridge failed and brainstorm improvements.
- Iterate on the design by making adjustments based on the test results. This iterative process fosters critical thinking and problem-solving skills.
Safety Precautions
- Remind kids to handle glue and sharp objects (like scissors for cutting popsicle sticks) with care.
- Supervise younger children during construction and testing to prevent accidents.
- Avoid using excessive weight during testing to prevent injury or damage to the surrounding area.
Learning Opportunities
- Popsicle stick bridge making offers numerous educational benefits for kids:
- Hands-on experience with basic engineering concepts
- Development of fine motor skills and hand-eye coordination
- Encouragement of creativity and innovation
- Introduction to the scientific method through testing and iteration
Building popsicle stick bridges with The Kids Point is not just a fun activity; it’s a valuable learning experience that combines art, science, and engineering. By engaging kids in the process of designing, constructing, and testing their bridges, with the support of The Kids Point’s resources and materials, we can foster a deeper understanding of STEM concepts and ignite their curiosity for future exploration. So gather your popsicle sticks, glue, and creativity, and embark on an exciting journey into the world of bridge building with The Kids Point!


