

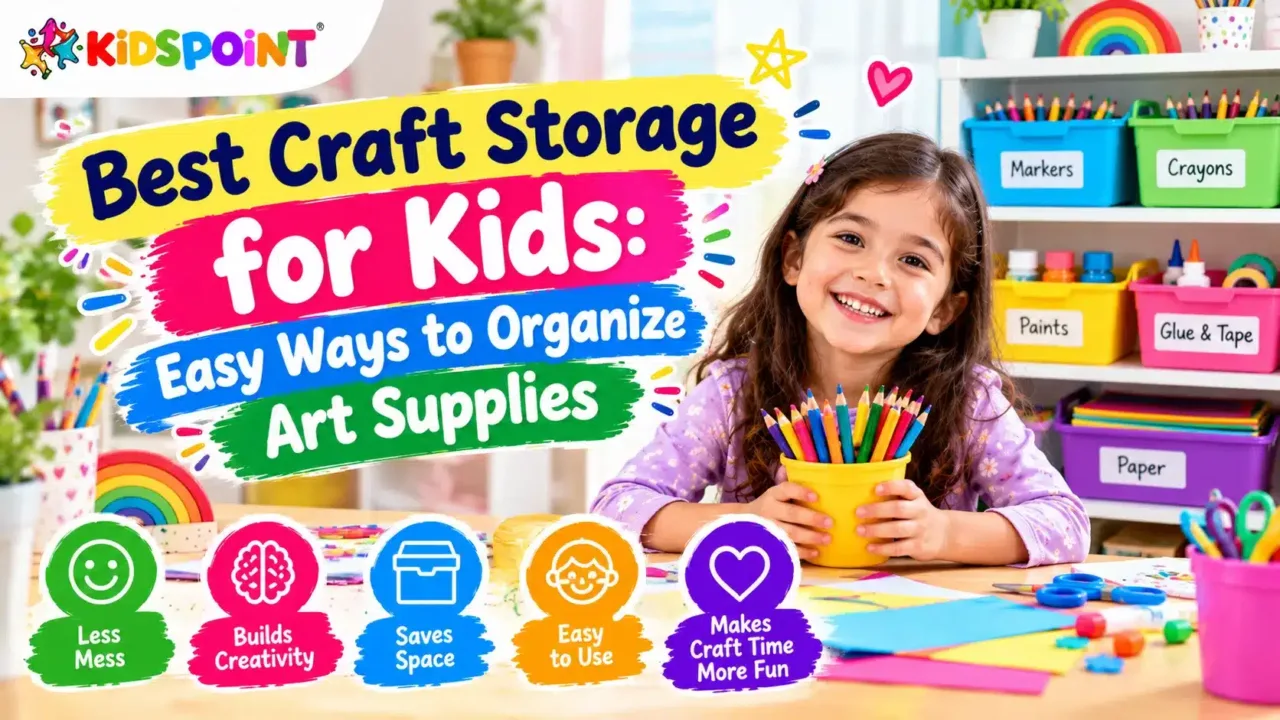
Kids love to create. Give a child some crayons, colored paper, glue, stickers, paint, or craft sticks, and suddenly a simple afternoon can turn into an exciting creative adventure. But there is one challenge that many parents and educators know very well: what do you do with all those art supplies when craft time is over?
Without a good storage system, crayons can end up under the sofa, markers can disappear into drawers, paper can become bent, and small craft materials can quickly take over a table or playroom.
The right craft storage for kids can make a big difference. An organized art area makes supplies easier to find, encourages children to clean up after activities, and gives them more independence during creative play.
You don’t need an expensive craft room or complicated furniture. Simple baskets, containers, shelves, boxes, and labels can transform a messy collection of supplies into an easy-to-use creative station.
In this guide, we’ll explore practical ways to organize children’s art supplies while keeping everything accessible, tidy, and appropriate for the child’s age.
Why Good Craft Storage Matters for Kids
Craft organization isn’t only about making a room look neat. A thoughtful storage system can make creative activities easier for both children and adults.
Encourages Independence
When children know where their crayons, paper, and craft tools belong, they can often select what they need without constantly asking an adult.
Makes Cleanup Easier
A clear storage system gives every item a home. Instead of saying, “Clean everything up,” parents can give simple instructions such as, “Put the markers in their container.”
Protects Art Supplies
Proper storage can help keep paper flat, containers closed, and supplies separated so they remain ready for the next project.
Saves Time
Searching through a large box for one missing marker can interrupt creative play. Organized supplies are easier to locate.
Supports Creativity
When children can easily see and access appropriate materials, they may be more likely to experiment with different colors, textures, and craft techniques.
15 Easy Craft Storage Ideas for Kids
1. Use Clear Plastic Bins
Clear bins are one of the simplest solutions for children’s craft supplies.
Because children can see what’s inside, they don’t have to open every container to find what they’re looking for.
Use separate bins for:
- Crayons
- Markers
- Colored pencils
- Paint supplies
- Stickers
- Craft paper
- Craft sticks
- Coloring books
Choose containers that are easy for children to handle and place heavier bins on lower shelves.
2. Create a Crayon and Marker Station
Instead of keeping every writing tool in one giant container, create separate holders.
You can use cups, small bins, or divided organizers to separate:
- Crayons
- Washable markers
- Colored pencils
- Chalk
- Paintbrushes
Label each container with words or pictures.
For younger children, picture labels can be especially helpful because they can identify supplies even before they can read confidently.
3. Organize Supplies by Category
One of the easiest ways to organize a large collection of art materials is to group similar items together.
For example:
- Drawing: crayons, pencils, markers
- Painting: paint, brushes, palettes
- Paper: construction paper, cardstock, scrapbook paper
- Decorating: stickers, ribbons, googly eyes
- Building: craft sticks, cardboard, pipe cleaners
This approach makes it easier to prepare for specific activities.
4. Use a Rolling Craft Cart
A rolling cart can be useful when children don’t have a permanent craft area.
Each level can have a different category of supplies. For example:
- Top shelf: frequently used drawing materials
- Middle shelf: paper and coloring books
- Bottom shelf: larger craft materials
The cart can be moved when needed and stored afterward.
Safety Tip
For younger children, keep the cart stable and place age-appropriate materials within reach. Avoid storing potentially hazardous materials where young children can access them without supervision.
5. Try a Hanging Organizer
A hanging pocket organizer can make use of vertical space.
You can place it on a suitable door or wall and use individual pockets for:
- Stickers
- Small notebooks
- Coloring sheets
- Scissors
- Craft templates
- Lightweight supplies
Before installing one, make sure it is securely attached and positioned appropriately for the child’s age.
6. Give Paper Its Own Storage Area
Paper is one of the craft supplies that can become messy quickly.
Instead of stuffing sheets into a small drawer, use:
- Magazine holders
- Document boxes
- Flat storage trays
- Open shelves
- File organizers
You can organize paper by color, size, or type.
A simple label such as “Colored Paper” or “Drawing Paper” makes cleanup easier.
7. Use Small Containers Inside Larger Bins
A large craft box can quickly become a collection of mixed-up supplies.
Solve this problem by putting smaller containers inside larger bins.
For example, one large bin could contain smaller containers for:
- Buttons
- Pom-poms
- Ribbons
- Craft sticks
- Foam shapes
This creates a “container within a container” system that makes small materials easier to find.
8. Make a Sticker Organizer
Kids often love stickers, but sticker sheets can become bent or lost.
Store them in:
- Small folders
- Envelopes
- Binder pockets
- File boxes
You can sort them by theme, such as animals, holidays, letters, numbers, or shapes.
This also gives children an opportunity to practice sorting and categorizing.
9. Create an Art Supply Drawer System
If you have a cabinet or desk with drawers, assign each drawer a purpose.
For example:
Drawer 1: Drawing tools
Drawer 2: Paper
Drawer 3: Painting supplies
Drawer 4: Decorative materials
Drawer 5: Finished artwork
Labels can make the system easier for children to follow.
10. Store Paint Supplies Together
Paint can require several related items, including brushes, palettes, cups, sponges, and washable paints.
Keeping these materials together makes preparation easier.
A dedicated paint bin can contain everything needed for basic painting activities.
However, liquid paints should be stored securely, and adults should consider the child’s age and the manufacturer’s instructions when deciding which materials children can access independently.
11. Use a Portable Craft Box
A portable craft box is useful when children create projects in different rooms.
Instead of carrying individual supplies back and forth, place commonly used materials in one box.
A portable box might contain:
- Crayons
- Washable markers
- Glue sticks
- Child-appropriate scissors
- Pencils
- Small paper supplies
After craft time, everything can go back into the same box.
12. Keep Craft Tools in a Separate Container
Craft tools deserve their own storage area.
Depending on the child’s age, this might include:
- Child-appropriate scissors
- Rulers
- Paintbrushes
- Sponges
- Stamps
- Craft punches
Keep tools organized and choose materials that are appropriate for the children using them.
Sharp or potentially hazardous tools should be stored securely and used with suitable adult supervision.
13. Set Up a “Finished Artwork” Folder
Kids create a lot of artwork, and parents don’t always want to throw everything away.
Give each child a folder, portfolio, or storage box for selected finished projects.
Children can decide which pieces they want to save.
This keeps artwork organized while giving kids a sense of pride in their creations.
14. Add Picture Labels
Picture labels are a simple but powerful organization tool.
For example, a container can have:
- 🖍️ Crayons
- 🖌️ Paint Brushes
- 📄 Paper
- ⭐ Stickers
- ✂️ Scissors
For younger children, pictures can make cleanup instructions easier to understand.
Older children can help create and write the labels themselves.
15. Create a “Grab-and-Go” Craft Kit
For frequently repeated activities, create ready-to-use craft kits.
You might have:
- Drawing kit
- Painting kit
- Paper craft kit
- Nature craft kit
- Holiday craft kit
Each kit can contain the basic supplies needed for that activity.
This can save preparation time and make spontaneous creative play easier.
How to Organize Kids’ Art Supplies by Age
Storage needs can change as children grow.
Toddlers and Preschoolers
Keep simple, age-appropriate materials in easy-to-see containers. Large crayons, washable coloring materials, paper, and other suitable supplies can be organized at a low level.
Avoid giving young children unsupervised access to small pieces or materials that aren’t appropriate for their age.
School-Age Children
Older children can usually take more responsibility for organizing their supplies.
Use labeled drawers, bins, folders, and craft carts. Encourage children to return materials after use.
Tweens
Older children may have more specialized interests, such as painting, drawing, jewelry-making, model-building, or other crafts.
Consider giving them dedicated storage areas for different hobbies while encouraging them to maintain the organization themselves.
DIY Craft Storage Ideas for Kids
You don’t always need to buy specialized organizers.
Reuse Cardboard Boxes
Small boxes can become storage containers for paper, cards, or lightweight supplies.
Decorate Empty Containers
With adult guidance, children can decorate suitable containers using paper, labels, or drawings.
Repurpose Jars Carefully
Clean containers can be useful for some craft supplies, but avoid using glass containers around young children. Choose safer alternatives when appropriate.
Make a Craft Supply Caddy
A simple handled organizer can keep frequently used supplies together and make them easy to move.
The goal isn’t to create a picture-perfect craft room. The goal is to create a system that works for your family.
How to Keep Kids’ Craft Storage Organized
Creating an organization system is only the beginning. Keeping it organized is what makes it useful.
Have a Five-Minute Cleanup
At the end of craft time, spend a few minutes returning supplies to their designated places.
Reduce Duplicate Supplies
You don’t need ten partly used boxes of crayons. Periodically check supplies and combine duplicates where practical.
Check for Damaged Items
Throw away or recycle materials that are dried out, broken, empty, or no longer usable when appropriate.
Rotate Supplies
You don’t have to keep every craft material available at the same time. Store seasonal or less frequently used items separately and bring them out when needed.
Let Kids Help
Children are more likely to understand an organization system when they help create it.
Ask questions such as:
- “Where should the markers go?”
- “Should we keep these stickers together?”
- “Which supplies do you use most?”
This turns cleanup into a small learning activity.
Craft Storage Safety Tips
Safety should always be part of children’s craft organization.
Keep age suitability in mind when choosing supplies. Small craft pieces can be inappropriate for young children, particularly those who may put objects in their mouths.
Store potentially hazardous materials securely and follow product instructions.
Make sure shelves, cabinets, and storage furniture are stable and appropriately secured.
Keep scissors and other tools suitable for the child’s age and ability.
Avoid overloading shelves or containers, as heavy storage can become difficult for children to handle safely.
Finally, inspect craft supplies regularly and remove damaged materials.
Make Craft Organization Part of the Learning Experience
Organizing art supplies can become an educational activity itself.
Children can practice:
- Sorting: Group supplies by type, color, size, or purpose.
- Counting: Count how many markers or crayons are available.
- Reading: Read labels on containers.
- Decision-making: Decide which supplies belong together.
- Responsibility: Return items after use.
- Planning: Select materials before starting a project.
- These small habits can support practical skills while making craft time smoother.
Final Thoughts
The best craft storage for kids is not necessarily the most expensive or elaborate system. It is the one that makes supplies easy to find, simple to use, and straightforward to put away.
Clear bins, labeled drawers, craft carts, paper organizers, portable boxes, and dedicated artwork folders can all help transform a messy collection of supplies into an inviting creative space.
Most importantly, involve children in the process. When kids help decide where their art supplies belong, organization becomes more than a household chore. It becomes an opportunity to practice responsibility, sorting, planning, and independence.
With a little creativity and a simple storage routine, parents can spend less time searching for supplies and more time enjoying the wonderful things children create.
Frequently Asked Questions
1. What is the best craft storage for kids?
The best craft storage depends on the child’s age, available space, and types of supplies. Clear bins, labeled containers, drawers, rolling carts, and portable craft boxes are versatile options that can make art supplies easier to find and organize.
2. How do I organize my child’s art supplies?
Start by grouping similar supplies together, such as crayons, markers, paper, paint, stickers, and craft materials. Use labeled bins, drawers, shelves, or containers so every category has a designated place.
3. How can I encourage kids to clean up craft supplies?
Use simple labels, keep frequently used supplies within appropriate reach, and create a short cleanup routine after every craft session. Letting children help design the storage system can also encourage them to use it.
4. Are clear containers good for kids’ craft supplies?
Yes. Clear containers allow children and adults to see what’s inside without opening multiple boxes. This can make finding and returning supplies easier.
5. How should I store small craft supplies?
Small materials can be sorted into separate containers and placed inside a larger labeled bin. However, small craft pieces should be kept away from young children who may not be ready to use them safely.
6. How do I store children’s artwork?
Use folders, portfolios, document boxes, or dedicated artwork containers. Children can help select special pieces to save while other artwork can be displayed, photographed, or recycled when appropriate.
7. What craft storage works well in small spaces?
Vertical shelves, hanging organizers, stackable bins, drawer organizers, and portable craft boxes can work well in smaller rooms because they use space efficiently.
8. How can I make DIY craft storage?
You can repurpose suitable cardboard boxes, storage containers, folders, and organizers. Add labels or decorations to make the storage system easy for children to understand and use.
9. Should kids have access to all craft supplies?
Not necessarily. Access should depend on the child’s age, abilities, and the materials involved. Potentially hazardous tools, chemicals, small pieces, or other unsuitable materials should be stored securely and used with appropriate supervision.
10. Why is craft organization important for children?
Organized craft storage makes supplies easier to find and can encourage independence, responsibility, creativity, sorting, planning, and cleanup habits.
Make Creativity Easier With The Kids Point
At The Kids Point, we believe every child deserves opportunities to explore, create, learn, and grow. Our team of educators, writers, and parents develops engaging stories, educational resources, activities, and interactive ideas that encourage curiosity and imagination while keeping age-appropriateness and safety in mind. Explore The Kids Point for more creative activities and learning ideas for children, and join our community to discover more ways to make learning fun and inspiring.