
Creating tear-free bubble foam for kids is a delightful and practical project that provides hours of fun while ensuring safety. This guide, brought to you by The Kids Point, will walk you through the process, ingredients, benefits, and tips for making and using tear-free bubble foam at home.
Tear-Free Bubble Foam
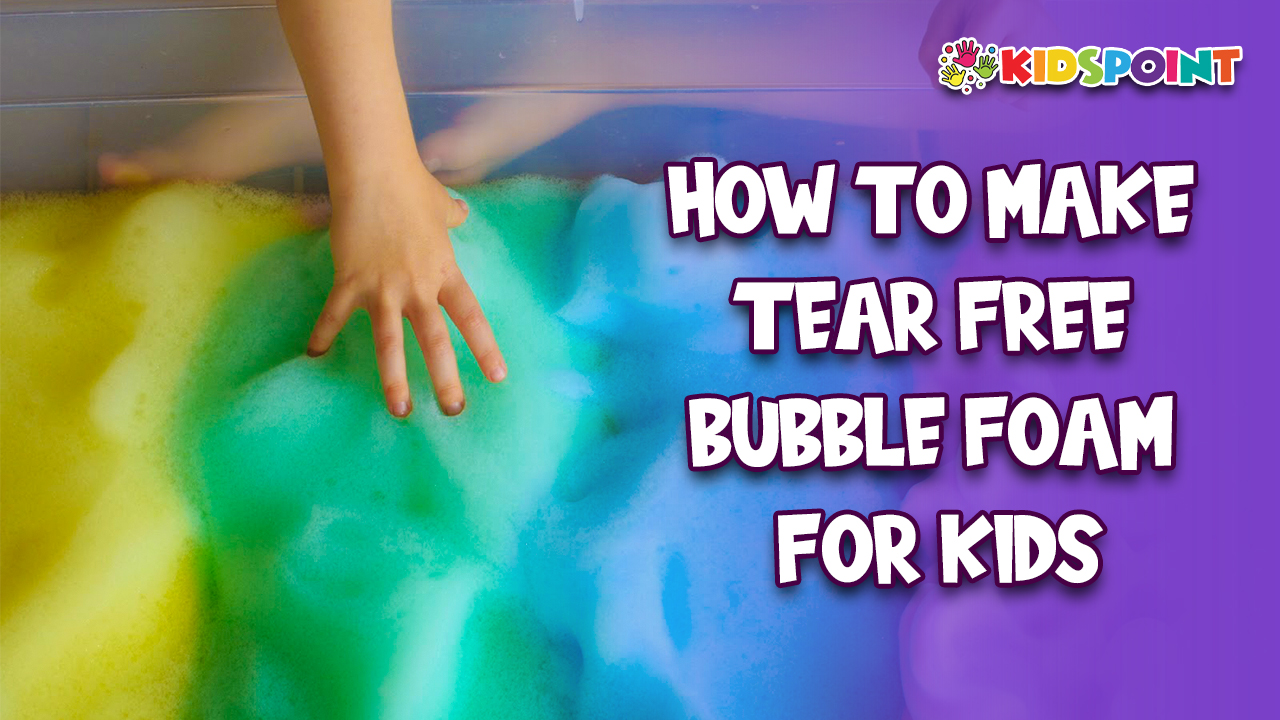
Bubble foam is a versatile play material that can be used in sensory play, bath time, or just for fun. Unlike regular bubbles, bubble foam has a dense and frothy consistency, making it more tactile and engaging for young children. The “tear-free” aspect is crucial, as it ensures that the foam won’t irritate a child’s eyes, making it perfect for little ones who might accidentally get the foam in their face.
Ingredients for Tear-Free Bubble Foam
Creating tear-free bubble foam at home is straightforward, with ingredients that are safe and gentle on the skin and eyes. Here’s what you need:
- Tear-Free Baby Shampoo: This forms the base of your bubble foam. Choose a brand that is labeled as tear-free and hypoallergenic to ensure it’s gentle.
- Water: Used to dilute the shampoo, creating the right consistency for foam.
- Food Coloring (optional): For added fun, you can color your bubble foam. Ensure the coloring is non-toxic and safe for skin contact.
- Essential Oils (optional): For a pleasant scent, a few drops of child-safe essential oils can be added. Lavender and chamomile are good options.
- Whisk or Hand Mixer: To create the foam.
Steps to Make Tear-Free Bubble Foam
Step 1: Prepare the Ingredients
Gather all your ingredients and tools. Make sure everything is clean, especially the whisk or hand mixer, as you want to avoid any contamination.
Step 2: Mix the Base
In a large mixing bowl, combine 1 cup of tear-free baby shampoo with 2 cups of water. The ratio of shampoo to water can be adjusted depending on the desired consistency of the foam.
Step 3: Add Color and Scent
If you want to add food coloring, now is the time. Add a few drops of your chosen color. If using essential oils, add 2-3 drops. Mix gently to combine.
Step 4: Create the Foam
Using a whisk or hand mixer, beat the mixture until it forms a dense, frothy foam. This should take about 3-5 minutes. If using a hand mixer, start on a low setting and gradually increase the speed.
Step 5: Transfer the Foam
Once you have a good amount of foam, transfer it to a large container or several smaller ones, depending on how you plan to use it.
Step 6: Play Time!
The bubble foam is now ready for play. You can use it immediately or store it for later use. If storing, keep it in an airtight container to maintain its consistency.
Benefits of Tear-Free Bubble Foam
Sensory Development
Playing with bubble foam stimulates a child’s senses. The texture, smell, and visual appeal help enhance sensory development.
Safe and Gentle
Using tear-free baby shampoo ensures that the foam is gentle on the skin and eyes. This is especially important for young children who are prone to rubbing their eyes during play.
Encourages Creativity
Bubble foam can be used in various ways, encouraging creativity and imaginative play. Kids can mold it, shape it, and use it in pretend play scenarios.
Easy to Clean
Since the foam is made from shampoo, it’s easy to clean up. Any residue can be rinsed away with water, making it convenient for both indoor and outdoor play.
Tips for Using Tear-Free Bubble Foam
Supervision
Always supervise young children during play, especially if they are prone to putting things in their mouth. While the ingredients are safe, it’s best to monitor their play to ensure they don’t ingest any foam.
Outdoor Play
Bubble foam is perfect for outdoor play. It reduces the risk of making a mess indoors and adds an element of fun to outdoor activities.
Themed Play
Incorporate bubble foam into themed play activities. For example, create a “car wash” for toy cars or a “bakery” where children can pretend to make cakes and pastries with the foam.
Bath Time Fun
Bubble foam can make bath time more enjoyable. Simply add the foam to the bathwater for a bubbly and fun experience. Just ensure that it’s rinsed off thoroughly after the bath.
Storage
If you make a large batch, store any unused foam in an airtight container. It will last for a few days, but for the best experience, use it fresh.
Variations and Enhancements
Glitter Bubble Foam
For an extra sparkle, add a small amount of cosmetic-grade glitter to the foam. Ensure the glitter is safe for skin contact and eyes.
Scented Bubble Foam
Experiment with different child-safe essential oils to create a variety of scented foams. This can add an extra sensory dimension to the play experience.
Bubble Foam Stations
Set up different stations with various colors and scents of bubble foam. This can be a fun activity for parties or playdates, allowing kids to move between stations and experience different textures and smells.
Making tear-free bubble foam for kids is a simple, safe, and fun way to enhance their playtime. By following these steps and tips, you can create a delightful sensory experience that’s easy to clean up and gentle on the eyes. Whether used for sensory play, bath time, or themed activities, bubble foam is sure to be a hit with kids of all ages. Remember to supervise playtime, especially with younger children, and enjoy the joy and creativity that bubble foam brings to your home.
At The Kids Point, we are dedicated to providing fun, safe, and creative activities for children. We hope this guide inspires you to make your own tear-free bubble foam and create wonderful memories with your kids. Happy bubbling!