
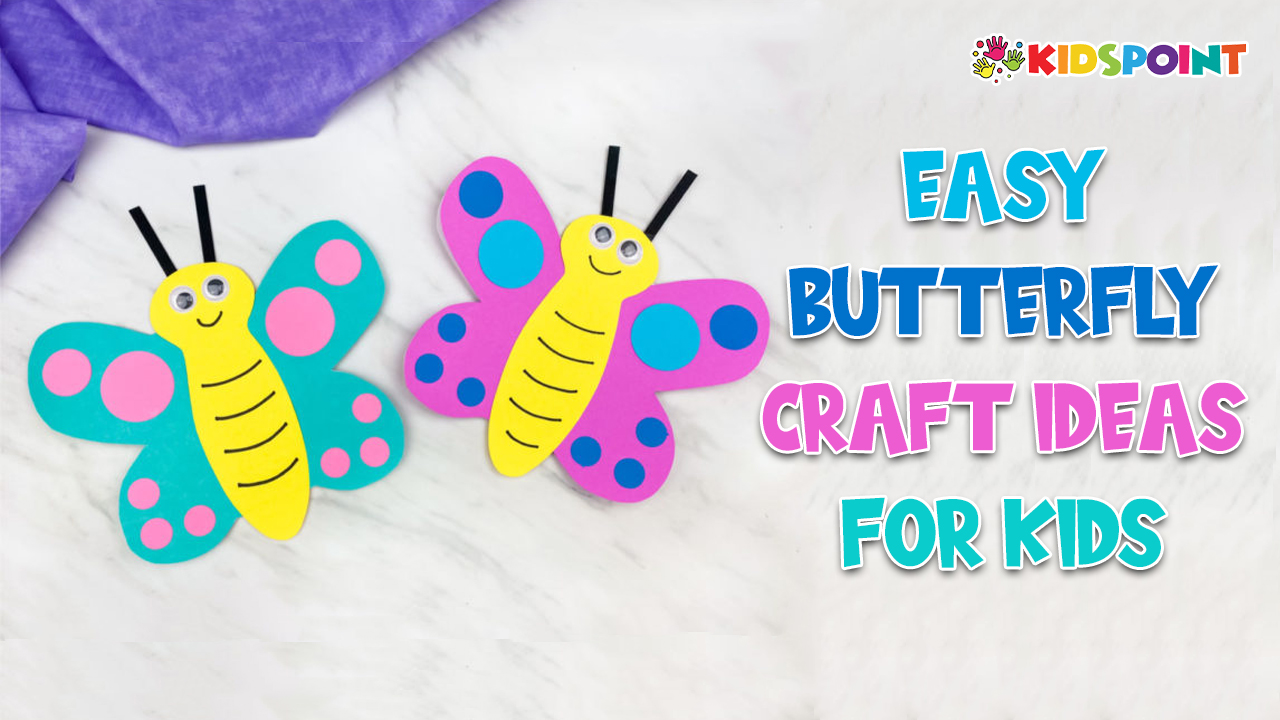
Crafting is a wonderful way to engage children in creative activities that enhance their fine motor skills, stimulate their imagination, and provide a sense of accomplishment. Butterflies, with their vibrant colors and graceful forms, are a perfect subject for kids’ crafts. Here at The Kids Point, we are dedicated to providing fun and educational activities for children. We have compiled a variety of easy butterfly craft ideas that are not only enjoyable but also educational, encouraging children to learn about nature while expressing their creativity.
Paper Plate Butterflies
Materials Needed
- Paper plates
- Paint or markers
- Pipe cleaners
- Glue
- Scissors
- Googly eyes (optional)
Instructions
- Paint the Plate: Let the children paint or color the paper plates. They can use any colors they like, mimicking real butterflies or creating their own fantastical versions.
- Cutting the Plate: Once the plates are dry, fold them in half and cut out a small triangle from the center to form the body. The two sides of the plate will become the wings.
- Attach the Body: Use a pipe cleaner for the butterfly’s body. Fold it in half and twist it to secure it in place between the wings. The ends of the pipe cleaner can be curled to form antennae.
- Decorate: Add googly eyes to the pipe cleaner head and use additional markers, stickers, or glitter to decorate the wings.
This craft is simple yet versatile, allowing children to explore different patterns and colors.
>> Also Read: Creating Easy Penguin Bookmark Corners for Kids: A Fun DIY Craft Project
Coffee Filter Butterflies
Materials Needed
- Coffee filters
- Washable markers
- Spray bottle with water
- Pipe cleaners
- Clothespins
Instructions
- Color the Filter: Flatten the coffee filters and let the kids draw on them with washable markers. They can create random designs or more structured patterns.
- Spray with Water: Lightly spray the colored coffee filters with water. The colors will spread and blend, creating a tie-dye effect. Let them dry completely.
- Shape the Wings: Once dry, pinch the center of the coffee filter to form wings. Secure it by twisting a pipe cleaner around the center.
- Body and Antennae: Attach a clothespin to the center of the butterfly to create the body. Optionally, twist the ends of the pipe cleaner to form antennae.
This activity demonstrates color mixing and diffusion, providing a mini science lesson along with the craft.
Toilet Paper Roll Butterflies
Materials Needed
Empty toilet paper rolls
Construction paper
Glue
Scissors
Markers or paint
Pipe cleaners
Googly eyes
Instructions
- Prepare the Body: Paint or color the toilet paper roll. This will be the butterfly’s body.
- Create Wings: Cut out wing shapes from construction paper. They can be any size or shape the child desires.
- Decorate Wings: Let the children decorate the wings using markers, stickers, or glitter.
- Attach Wings to Body: Glue the wings to the back of the toilet paper roll.
- Add Details: Glue googly eyes onto the front of the roll and add pipe cleaners for antennae.
This craft is great for recycling and teaches kids about repurposing materials.
Clothespin Butterflies
Materials Needed
- Wooden clothespins
- Tissue paper or craft paper
- Pipe cleaners
- Glue
- Markers or paint
- Googly eyes
Instructions
- Decorate the Clothespin: Paint or color the clothespins. These will serve as the butterfly’s body.
- Prepare the Wings: Cut tissue paper or craft paper into large, wing-like shapes.
- Assemble the Butterfly: Accordion-fold the paper wings and insert them into the clothespin.
- Secure Wings: Twist a pipe cleaner around the center of the wings to hold them in place and create antennae.
- Add Finishing Touches: Glue on googly eyes and decorate the wings with markers or stickers.
This project is quick and easy, making it perfect for younger children with shorter attention spans.
Butterfly Suncatchers
Materials Needed
- Wax paper
- Crayons
- Pencil sharpener
- Iron (adult supervision required)
- Black construction paper
- Glue
- Scissors
Instructions
- Create Crayon Shavings: Use a pencil sharpener to create crayon shavings in various colors.
- Prepare Wax Paper: Place a sheet of wax paper on a flat surface and sprinkle the crayon shavings evenly.
- Melt Crayons: Place another sheet of wax paper on top of the shavings. Using an iron (with adult supervision), carefully press over the wax paper to melt the crayons. Allow it to cool.
- Cut Out Shapes: Cut out butterfly shapes from the melted wax paper.
- Frame the Butterflies: Cut out frames from black construction paper and glue them around the wax paper butterflies to finish the suncatchers.
These suncatchers look beautiful hanging in a window, and the melting process is an exciting part of the activity for kids.
Pom-Pom Butterflies
Materials Needed
- Pom-poms
- Pipe cleaners
- Craft sticks
- Glue
- Googly eyes
Instructions
- Create the Body: Glue several pom-poms onto a craft stick. This forms the butterfly’s body.
- Add Antennae: Twist a pipe cleaner around the top of the craft stick and shape the ends into antennae.
- Attach the Wings: Use another pipe cleaner to create the wings by shaping it into two loops and attaching it to the back of the craft stick.
- Add Eyes: Glue googly eyes onto the top pom-pom.
Pom-pom butterflies are soft, colorful, and fun to make, perfect for little hands to work with.
Button Butterflies
Materials Needed
- Buttons in various colors and sizes
- Pipe cleaners
- Craft glue
Instructions
- Create the Body: String buttons onto a pipe cleaner, arranging them by size from smallest to largest and then back to smallest.
- Shape the Wings: Bend another pipe cleaner into wing shapes and attach it to the button body by twisting it around the center.
- Finish with Antennae: Twist the ends of the body pipe cleaner to form antennae.
This craft not only results in adorable butterflies but also helps kids with their fine motor skills and counting practice.
Nature-Inspired Butterflies
Materials Needed
- Leaves, flowers, and other natural items
- Glue
- Construction paper
Instructions
- Collect Materials: Take the kids on a nature walk to collect leaves, flowers, and other natural items.
- Design the Butterfly: Arrange the collected items on a piece of construction paper to form butterfly wings.
- Glue in Place: Once the design is set, glue the natural items onto the paper.
- Add Body: Use a stick or a strip of construction paper for the butterfly’s body.
This activity combines art and nature, teaching kids to appreciate the beauty in their surroundings.
Stained Glass Butterflies
Materials Needed
- Black construction paper
- Colored tissue paper
- Glue
- Scissors
Instructions
- Cut Out Shape: Cut out a butterfly shape from black construction paper, including cutting out sections from the wings to create an outline.
- Fill with Color: Glue colored tissue paper pieces behind the cut-out sections to fill in the wings.
- Display: Once dry, these can be hung in a window to let the light shine through.
Stained glass butterflies are a delightful way for kids to explore color and light.
Fingerprint Butterflies
Materials Needed
- White paper
- Washable ink pads or paint
- Black marker
Instructions
- Make Fingerprints: Have the children dip their fingers in the ink or paint and press them onto the paper to create the butterfly’s wings.
- Add Body: Once the fingerprints are dry, draw the butterfly’s body and antennae with a black marker.
- Decorate: Add any additional decorations or details to complete the butterfly.
Fingerprint butterflies are simple and personalized, making each one unique.
>> Also Read: Super Fun DIY Marble Maze Craft for Kids
Educational Value and Benefits
- Creativity and Imagination: These crafts encourage children to use their imagination to create unique and colorful butterflies, fostering creative thinking.
- Fine Motor Skills: Cutting, gluing, coloring, and shaping materials help develop fine motor skills and hand-eye coordination.
- Environmental Awareness: Using recycled materials and natural items teaches kids about recycling and appreciating the environment.
- Science and Nature Learning: Discussions about butterflies, their life cycle, and habitats can be integrated into the crafting session, adding an educational component.
- Social Skills: Crafting in groups encourages sharing, teamwork, and communication.
At The Kids Point, we believe that butterfly crafts offer a wonderful blend of art, education, and fun. They provide children with an opportunity to express themselves creatively while learning about the beauty of nature. With simple materials and easy instructions, these crafts are accessible and enjoyable for kids of all ages. So gather your supplies and let your child’s imagination take flight with these delightful butterfly craft ideas.